A few years ago, back during the COVID-19 pandemic, I dabbled in restoring drive-in speakers and turning them into swank art projects. It went well for a time – heck, one of them sold at an art auction a few years ago for big bucks – but eventually I stopped repainting the speakers, and went on to other art projects.
But that just means I have several drive-in speaker shells – all painted in various hot colors and shades – just sitting around the house.
That’s not acceptable. I need to turn this into some sort of art project.
So here we go. We’re working on a new art project for 2024. An art project I’m calling When The Second Feature Starts.
And if I need to explain this title … here’s your explanation. Courtesy of the band Blotto.
First things first. I need the backing board.
I drove to my local Curtis Lumber – and after using my regular joke about asking if I can speak to Curtis, which got absolutely NO laughs – I purchased a board. I had to buy a full 4′ x 8′ piece of plywood, but they trimmed it down for me to 28 inches square. This will be the core of the project.

I then ordered dozens and dozens of old drive-in theater tickets. Dozens and dozens of them. I carefully laid each one on the board, and adhered each one with a dab of glue.
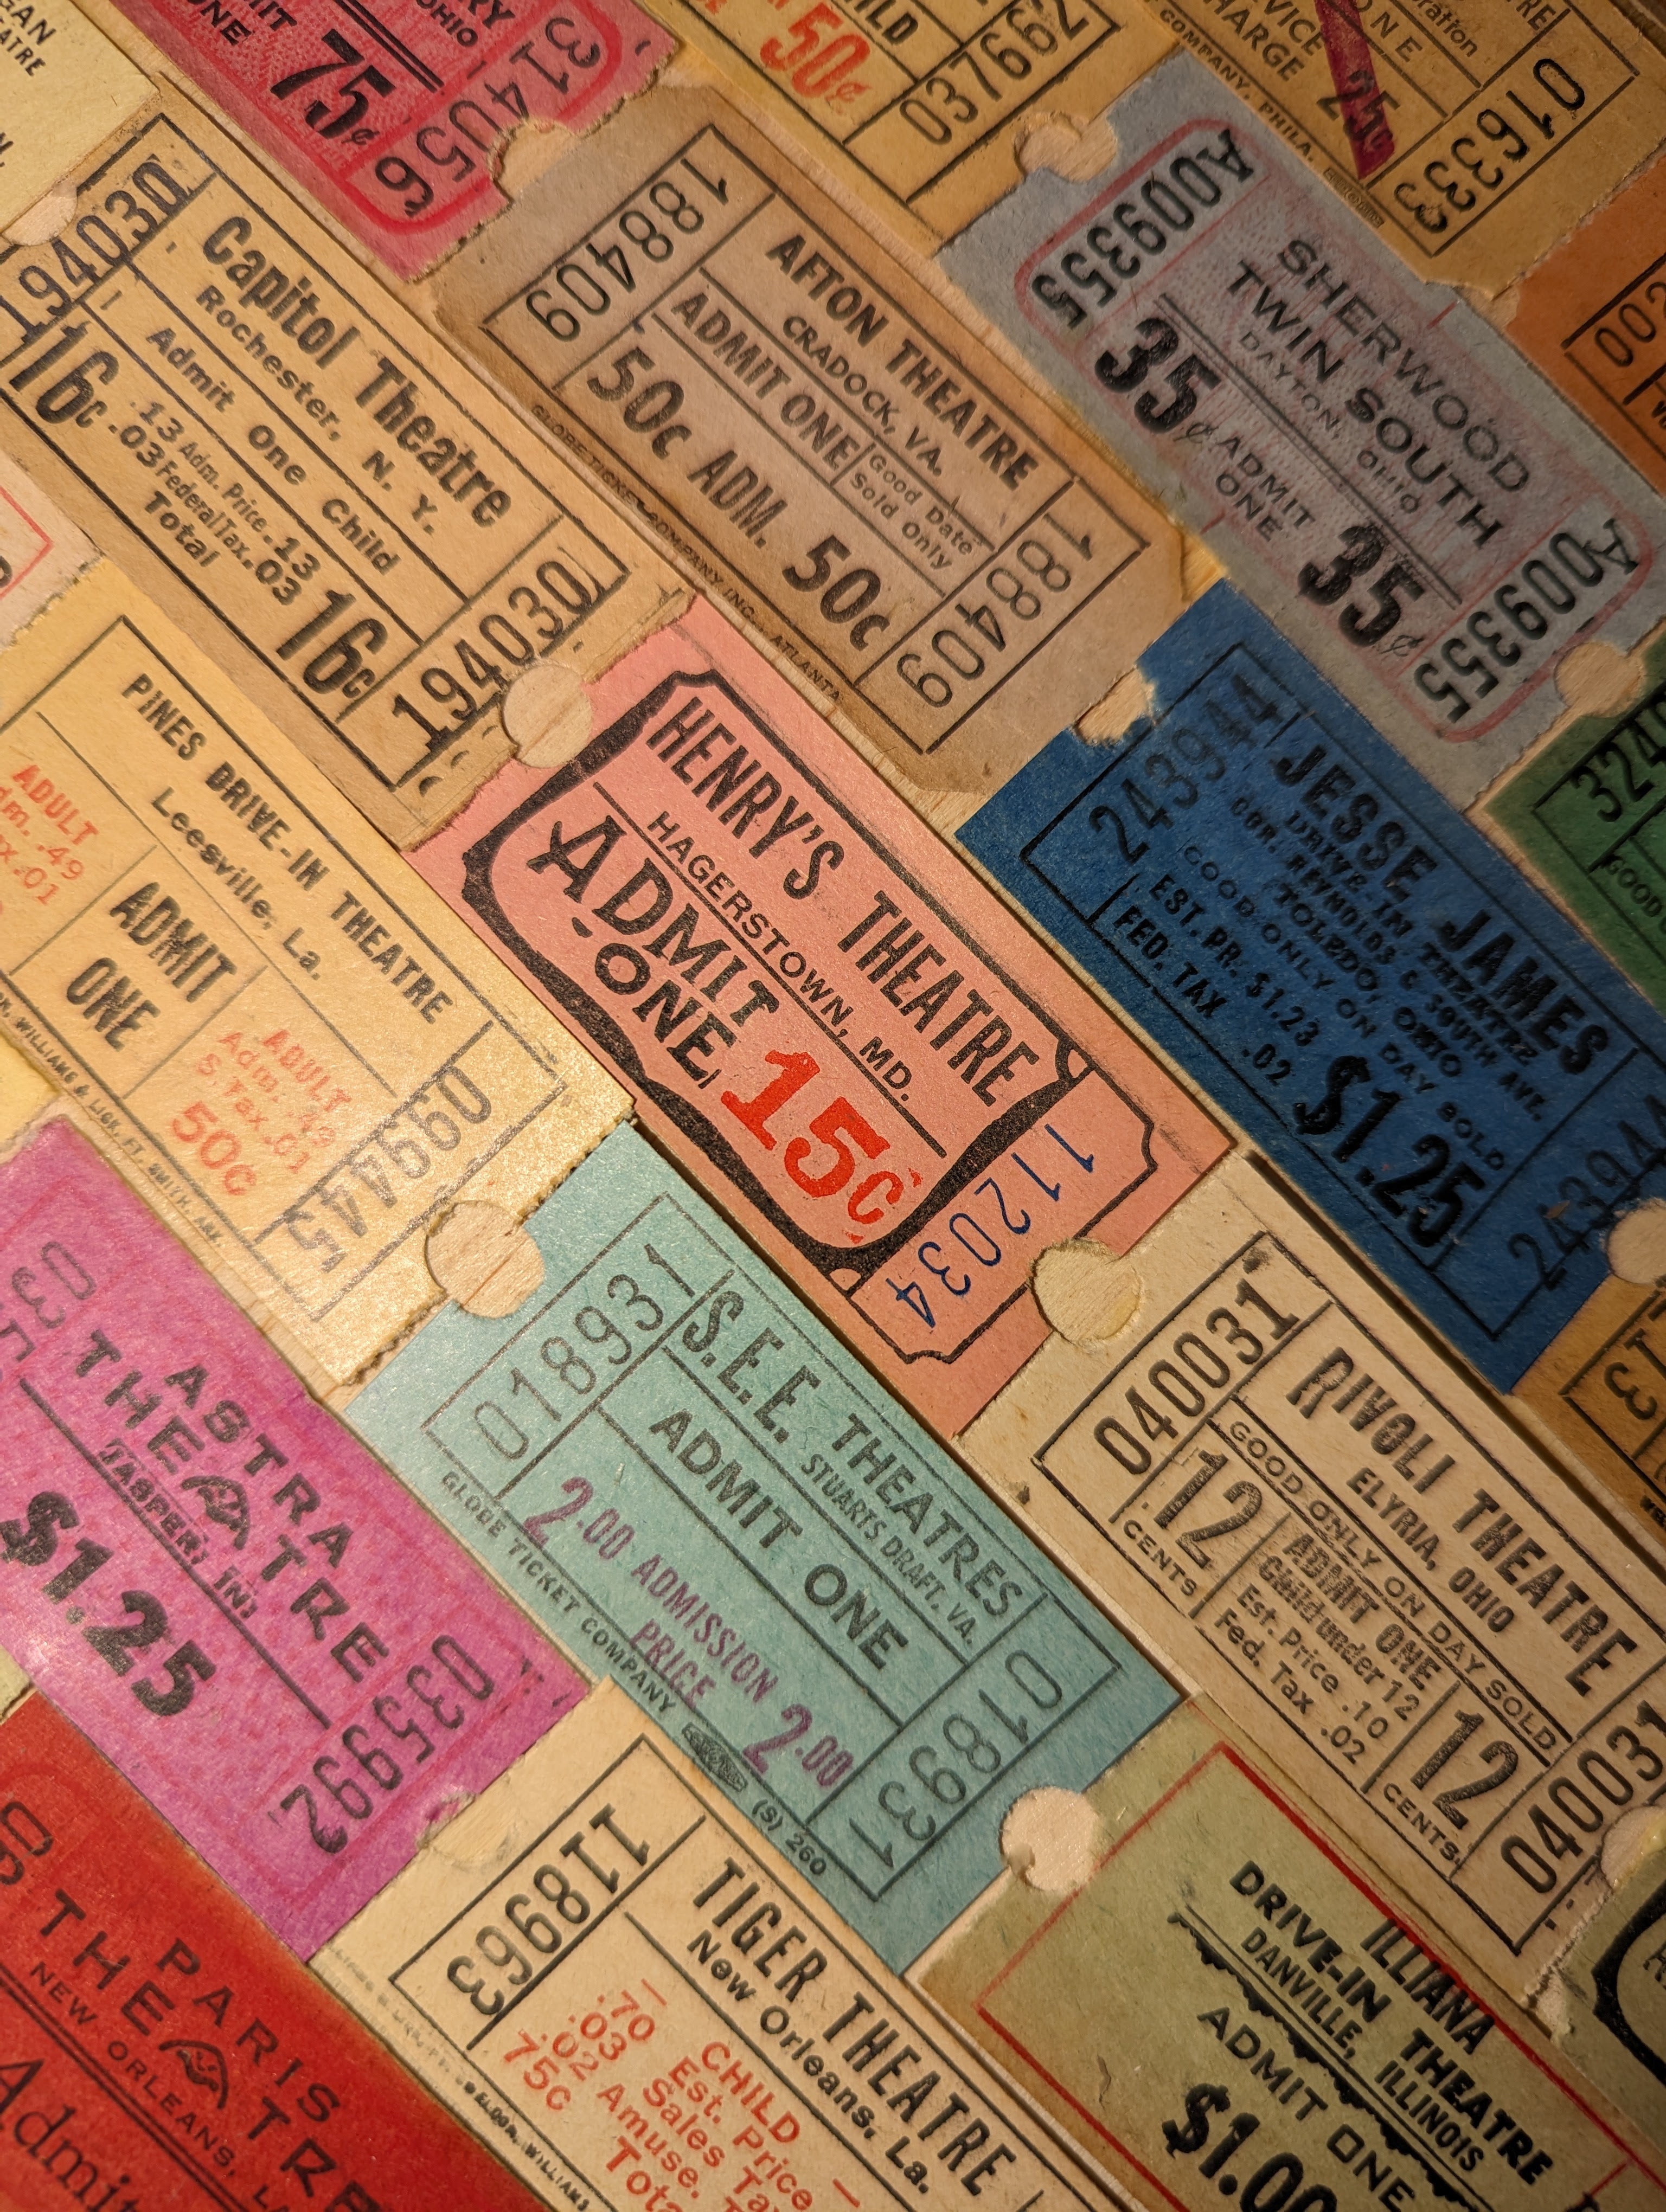
And in my search for drive-in theater tickets … look what I found.
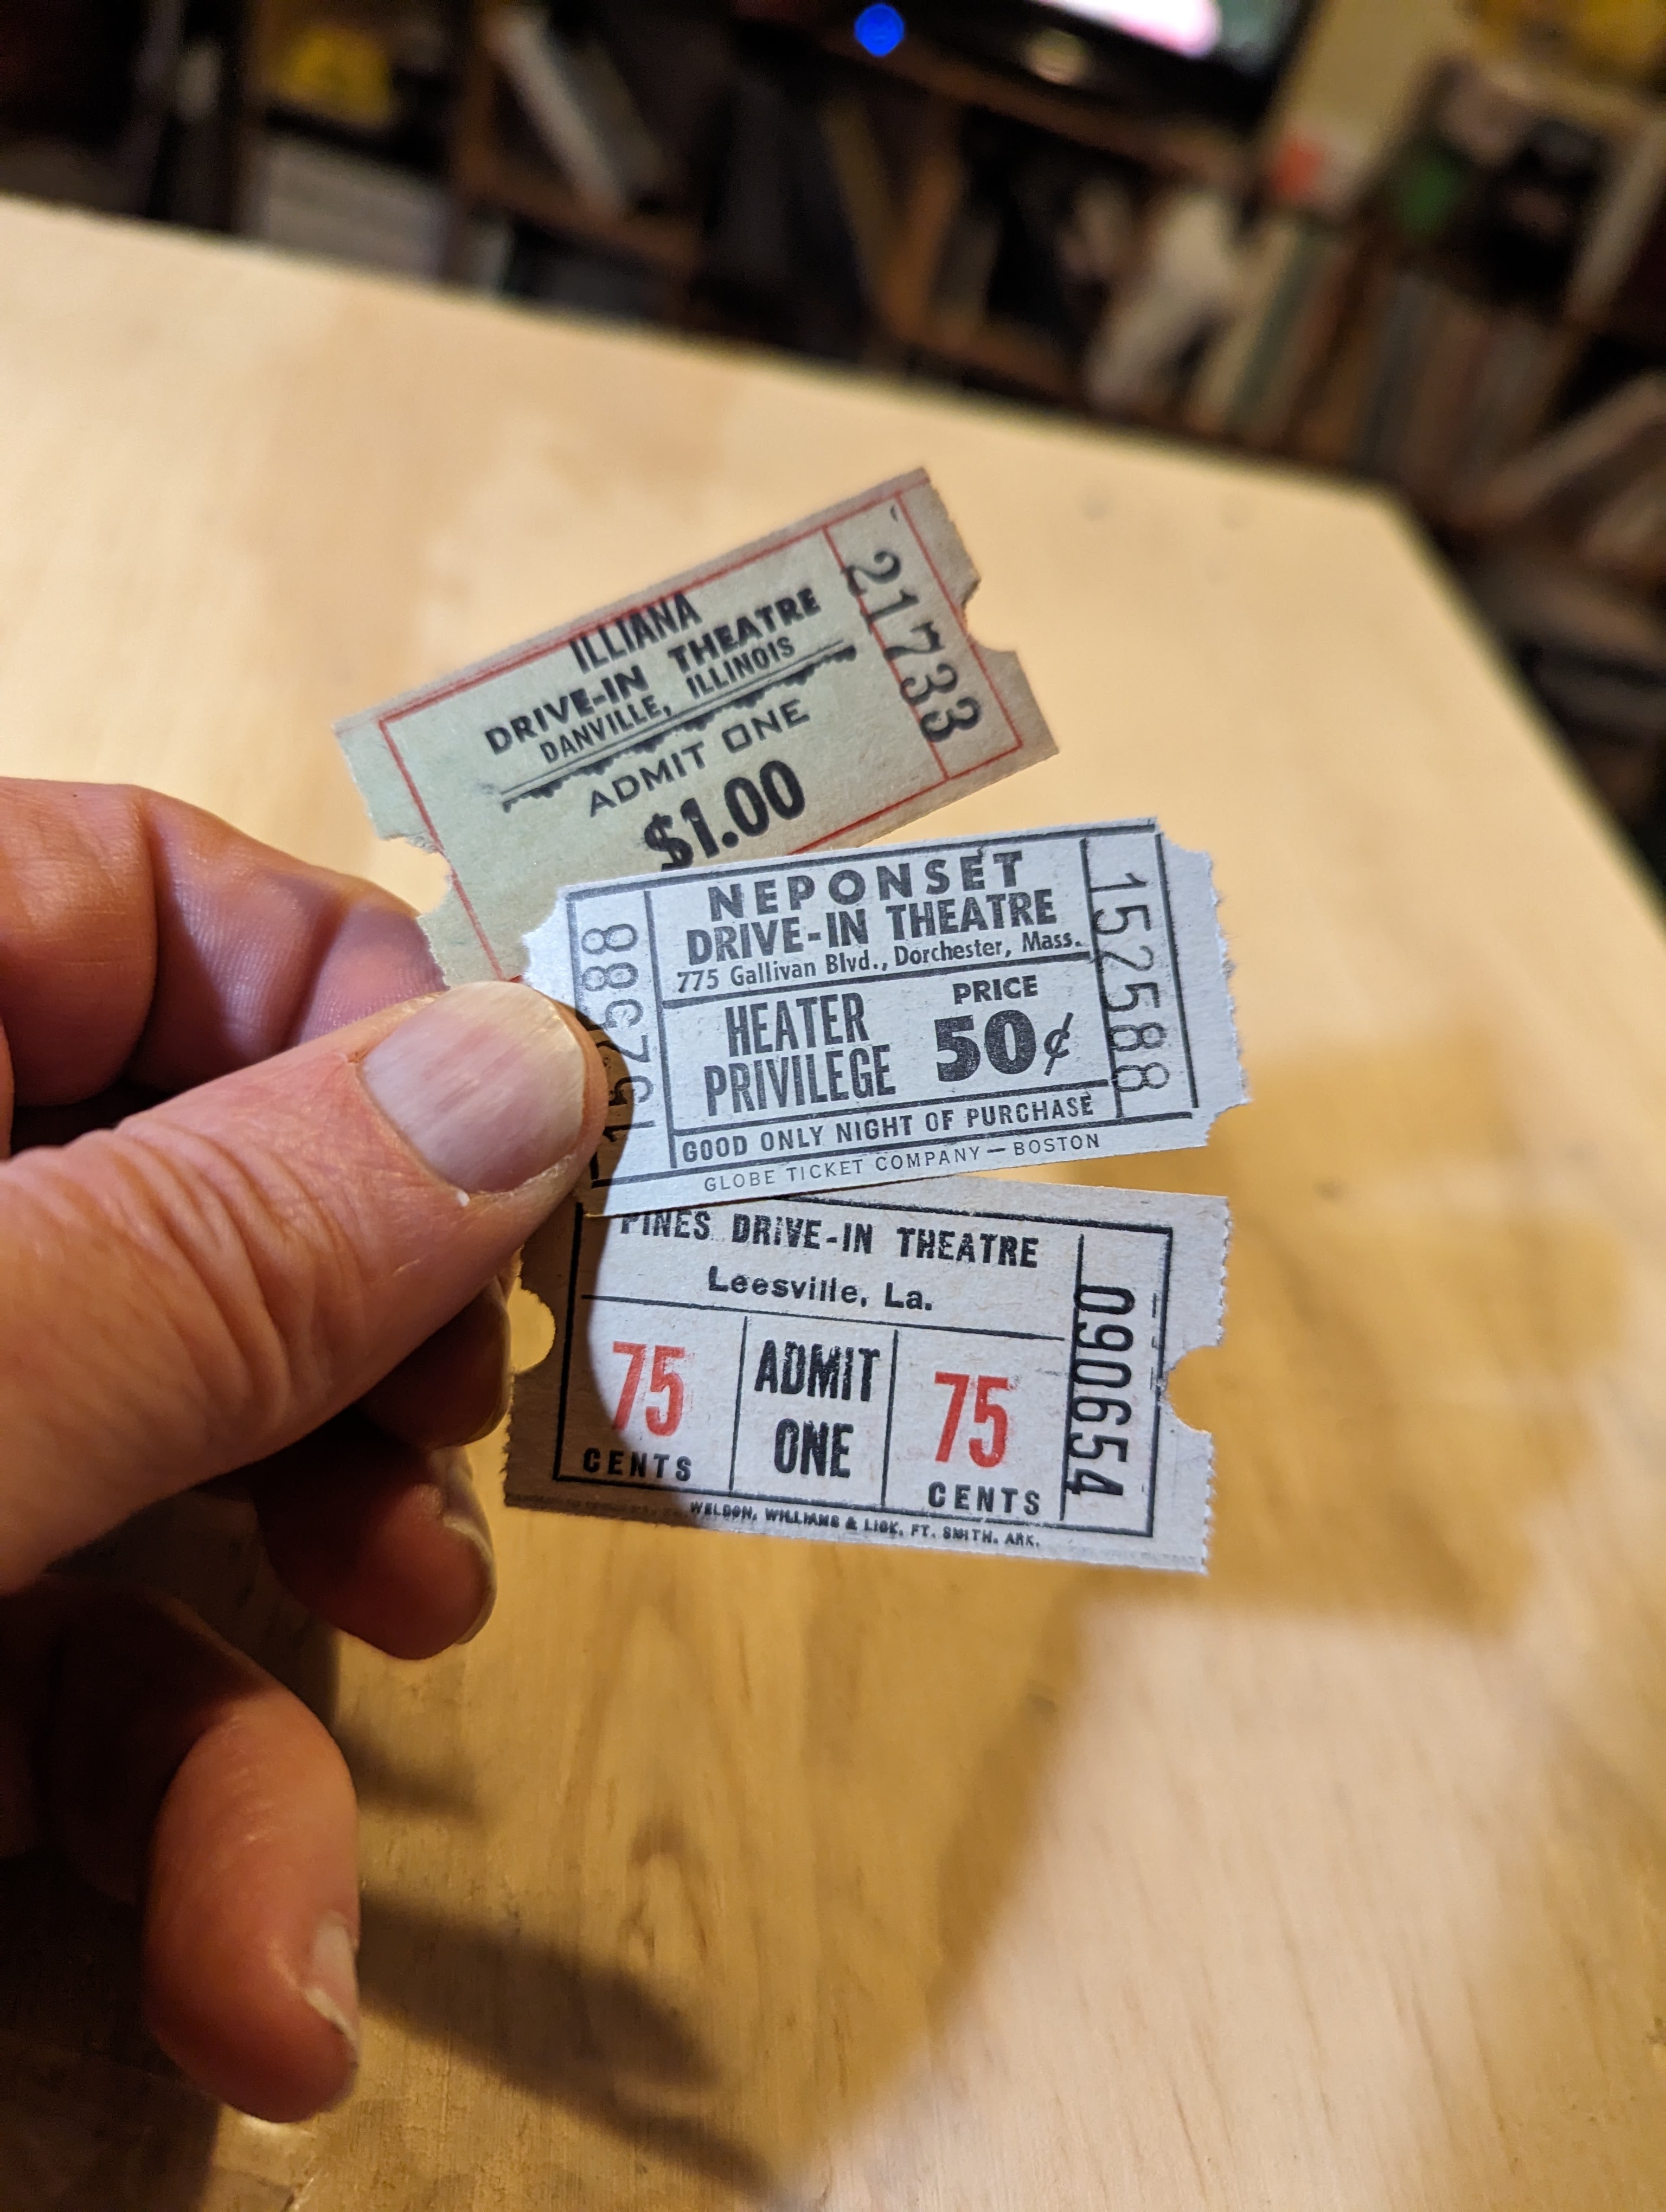
That is a bona fide ticket from the Neponset Drive-In in Dorchester, Massachusetts. They used to have a flea market on Saturday afternoons, my Grandma Betty and Aunt Elaine and I went there all the time to search for antiques and supplies for Lainey’s antiques store in New Hampshire. This is nice.
In addition to the drive-in movie tickets, I also had a couple of vintage popcorn boxes to add to the art project. I was able to cover 40% of the board before I ran out of tickets.

At one point in my project, I came across a drive-in theater flyer that – let’s put it this way – was perfect for this art project.

No way could I let this slip by. Two bona fide Mystery Science Theater 3000 classics, and two late 1950’s horror classics. This just screams “promotional gimmick” from the drive-in in question. Horror movies till dawn … and some creeper showing up at all the drive-in vehicles to scare the bejeebers out of the patrons – unless the driver puts a yellow “coward card” on the dashboard.
I had already glued down most of my drive-in tickets, so finding a location for this little handbill wasn’t easy. But I got lucky.
A few days later, I received the final batch of drive-in theater tickets, and was able to complete the artwork’s background. Take a look.

Oh, and you know that old adage about “measure twice, cut once”? Well, at one point when the guy at Curtis Lumber was sawing this plywood, some of the plywood must have bowed in the circular saw, because one of the corners measured 29″ in length. Which will NOT work when I’ve already bought a set of 28″ wooden rails and assembled them to fit this project. Thankfully, a well-placed chisel and lots of pent-up frustration helped me carefully shave down that corner. We’re good.
I had six custom-painted drive-in speaker shells left over from my drive-in speaker paint projects. Two more shells were re-painted for this project – a Ballantyne now covered in a turquoise green; and a Koropp with a matte silver color.

Okay. For those who want to nerd out … top row, left to right, is a repainted speaker from the Malta Drive-In in Saratoga Springs, a rainbow-painted Eprad speaker with glow-in-the-dark paint, and a “lightning bolt” speaker shell from an old drive-in in Brisbane, Australia. The center three were manufactured by Koropp (red), Ballantyne (yellow) and RCA (blue). The two bottom speakers were the ones that were painted just recently.
Now comes the fun part.
Normally these shells would be bound together with a special screw – a Holt fluted screw, which could only be opened with a special fluted screwdriver. You know, to keep people from tampering with the speaker or trying to steal it. I had some of those fluted Holt screws available, so that’s what I’m going to use to mount these speakers onto the board.
But here’s the trick. I need to test-fit the screws into the shells, then estimate where to drill holes into the plywood to anchor the screws. I solved this by dabbing some lipstick onto the screw heads, and then “kissing” the board to leave marks where to drill. Sixteen holes later … I got what I wanted.
I’d like to at least frame this up. It’ll look better with a frame around it.
Arlene’s Artists Materials on Fuller Road has wooden and metal frame rails. I purchased a set of four 28″ wooden rails from Arlene’s, which I think will really enhance the display.
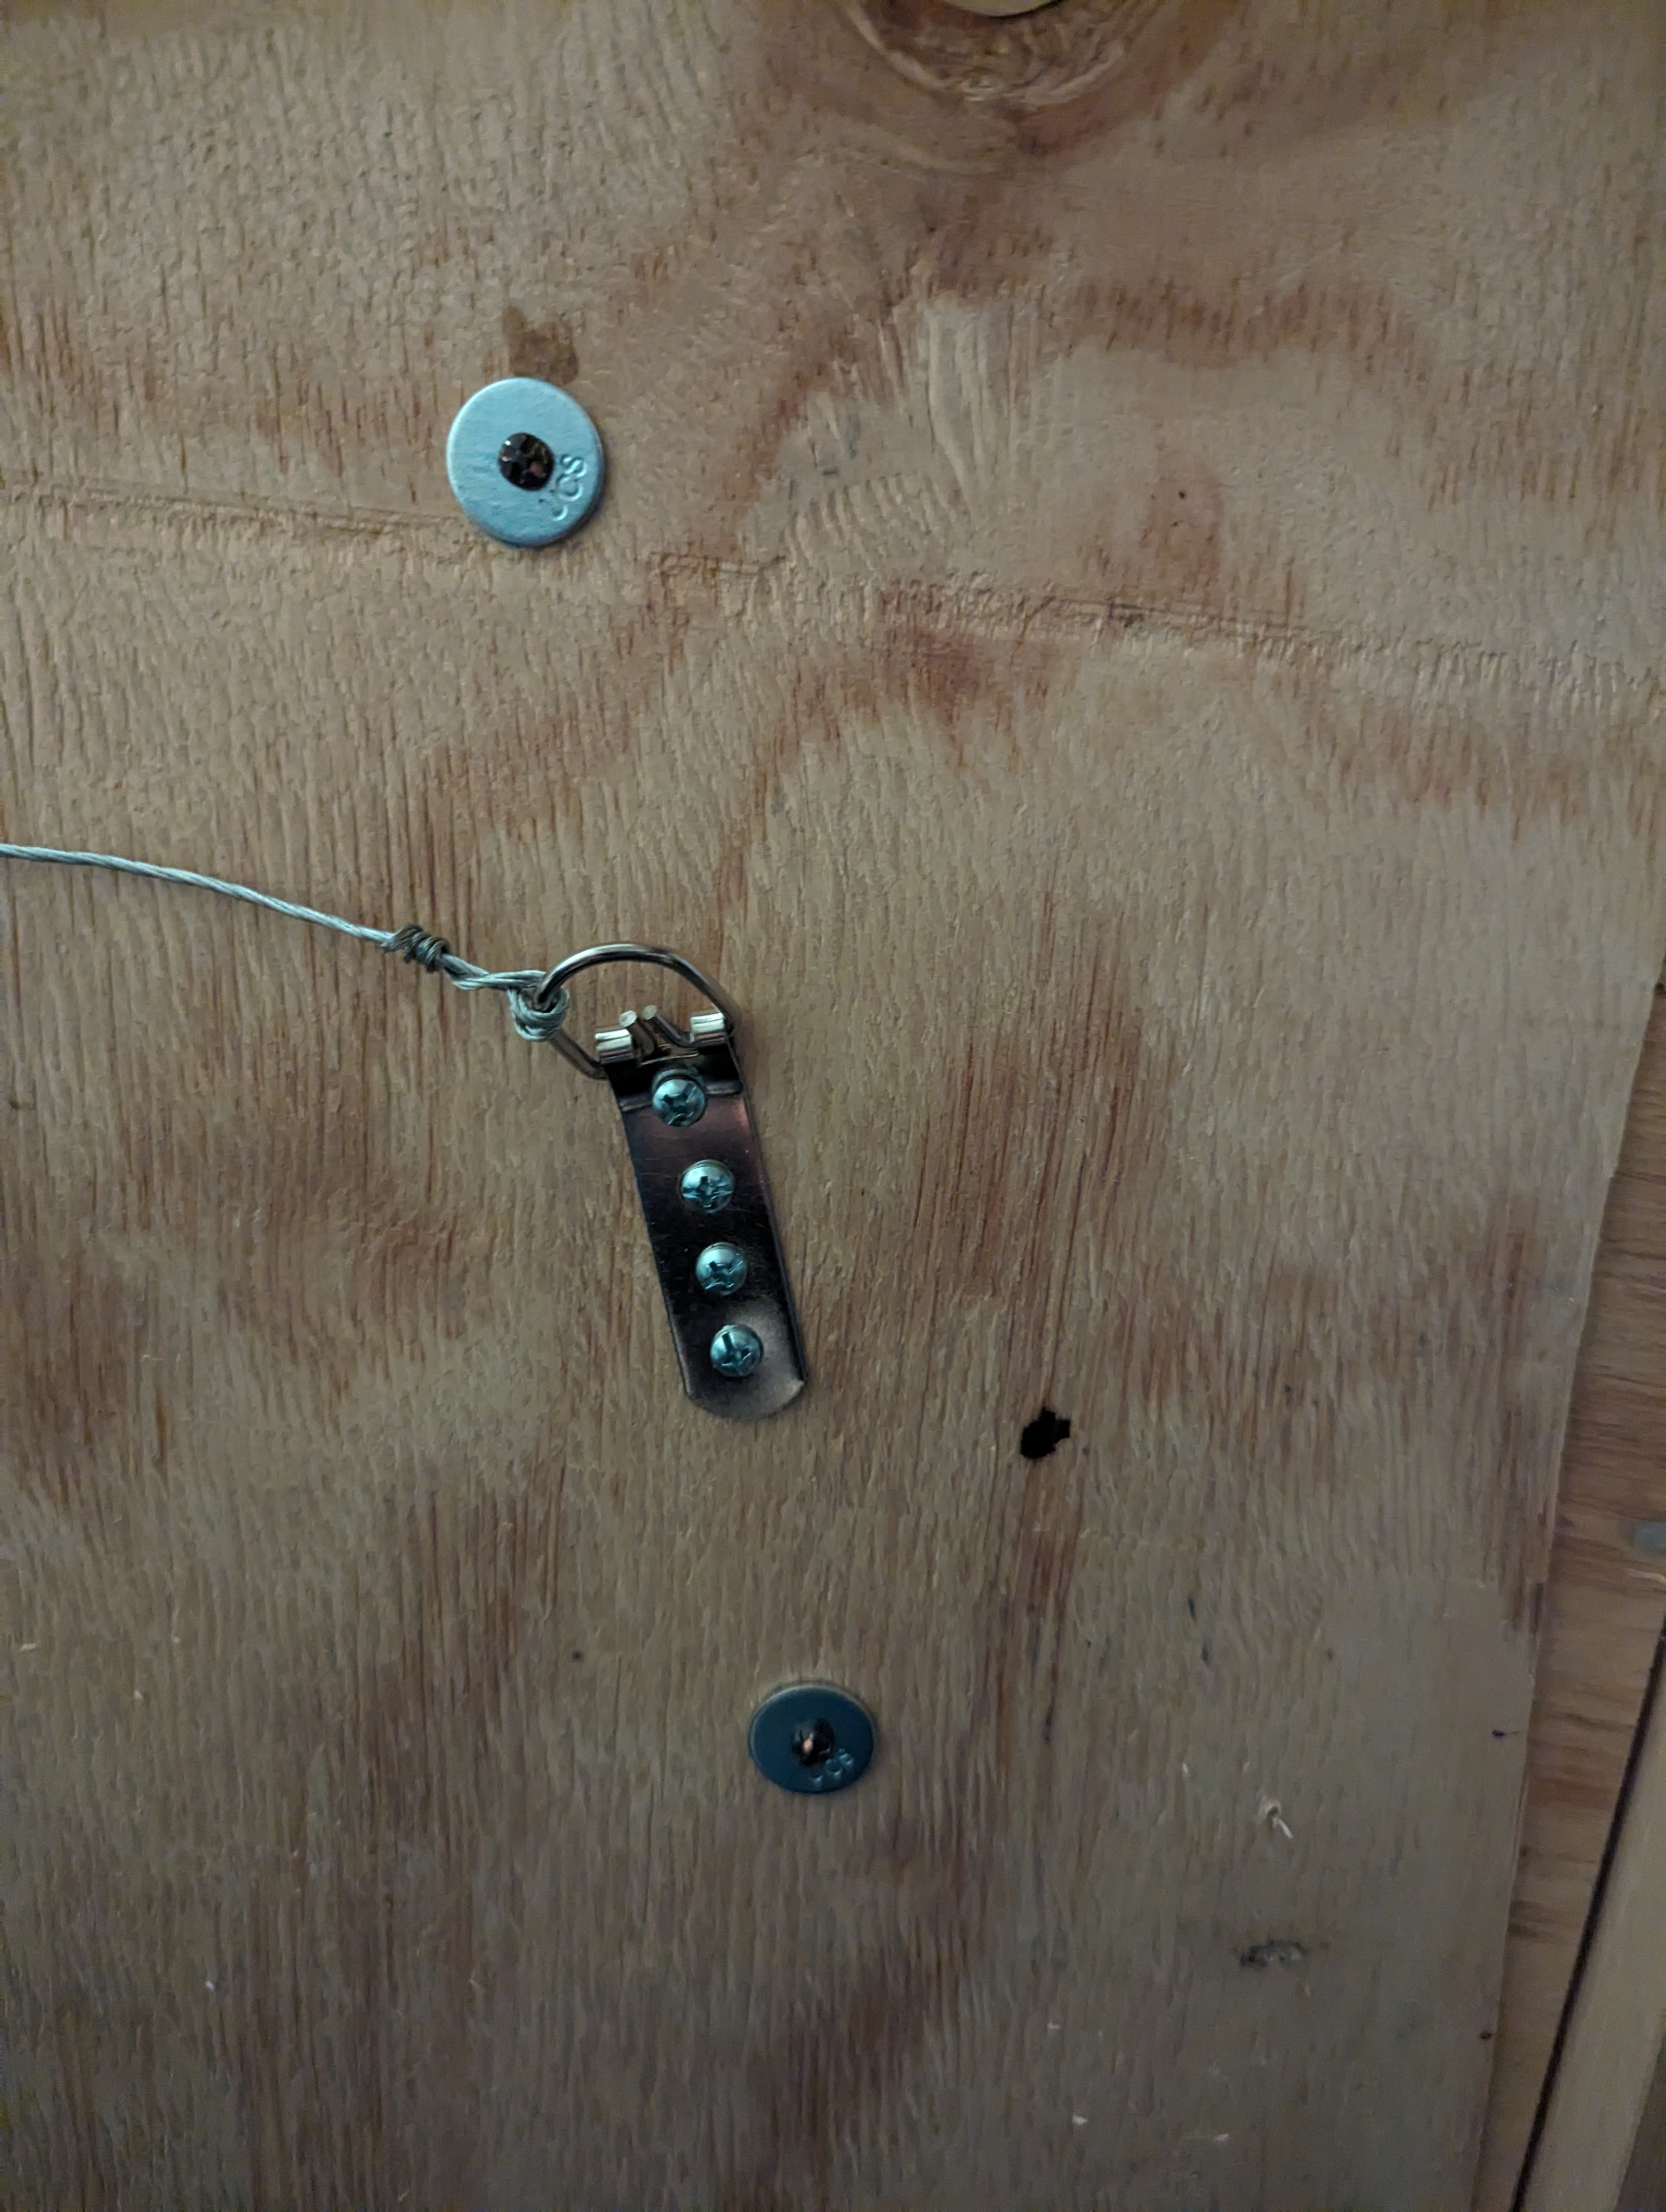
Now I need to put hanging wire on the back of the artwork. But the screws to anchor the wire are longer than the board’s thickness; if I drilled through, the screw points will stick out through the front of the artwork. That won’t do. I solved this by putting the anchor points on the opposite side of where two of the speaker shells would exist. That way, the points won’t be visible.
I bolted six of the eight shells into place … then discovered that two of the shells had larger screw holes than the rest of the set. My Holt screws wouldn’t holt. Er … hold. A quick trip to the hardware store, where I spent the better part of ten minutes trying to find the right screws for the shells.
The Australian “lightning bolt” took a 5mm metric screw, and the hardware store had plenty of those. But the rainbow-painted Eprad shell had stripped holes. Thankfully, a kind employee at the hardware store used a screw tap to widen the holes a smidge, just enough for the new screws to fit. And we’re good.
A little hanging wire, and here we have it.
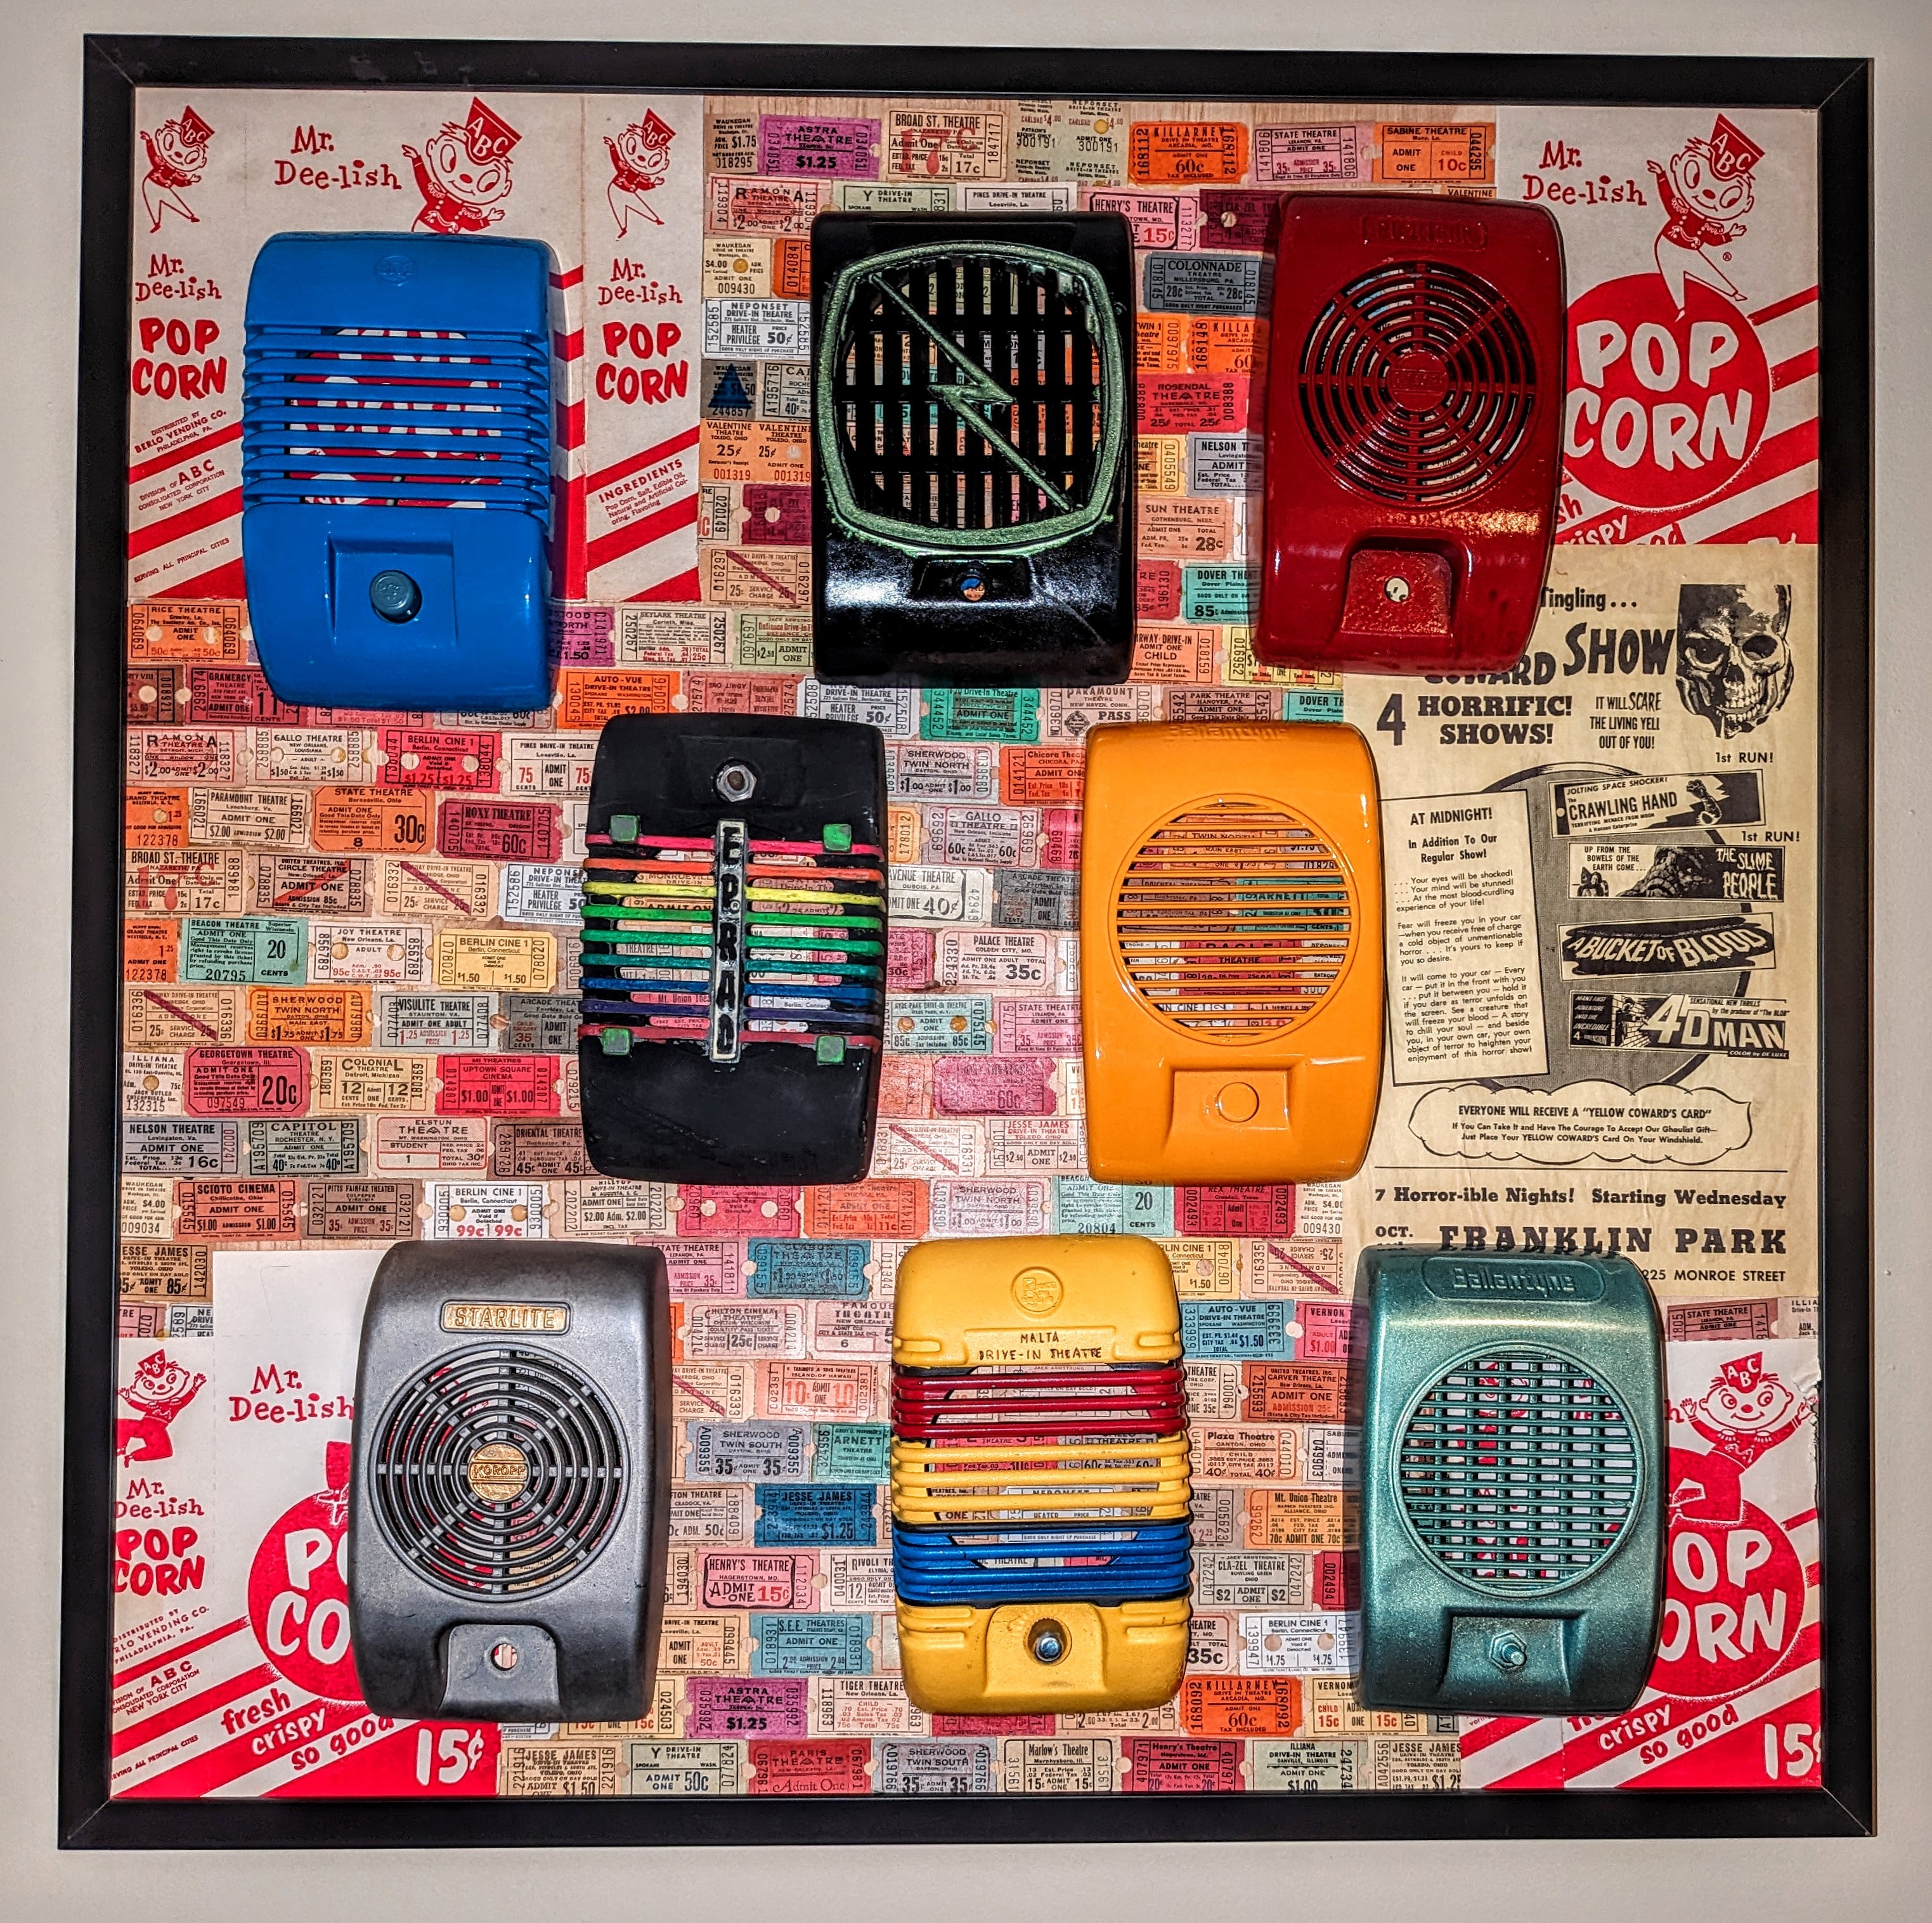
This is definitely the best way to end the year. How freakin’ cool is this?
Yeah. This is straight-up creativity. And I’m totally down with that.
#chuckishappy

You must be logged in to post a comment.