I’ve been having lots of fun with this drive-in speaker restoration concept, where I take old vintage aluminum drive-in speakers, restore the interior guts, repaint the exterior chassis, and either put them up for auction or use them in my personal life.
Such begins my next project.
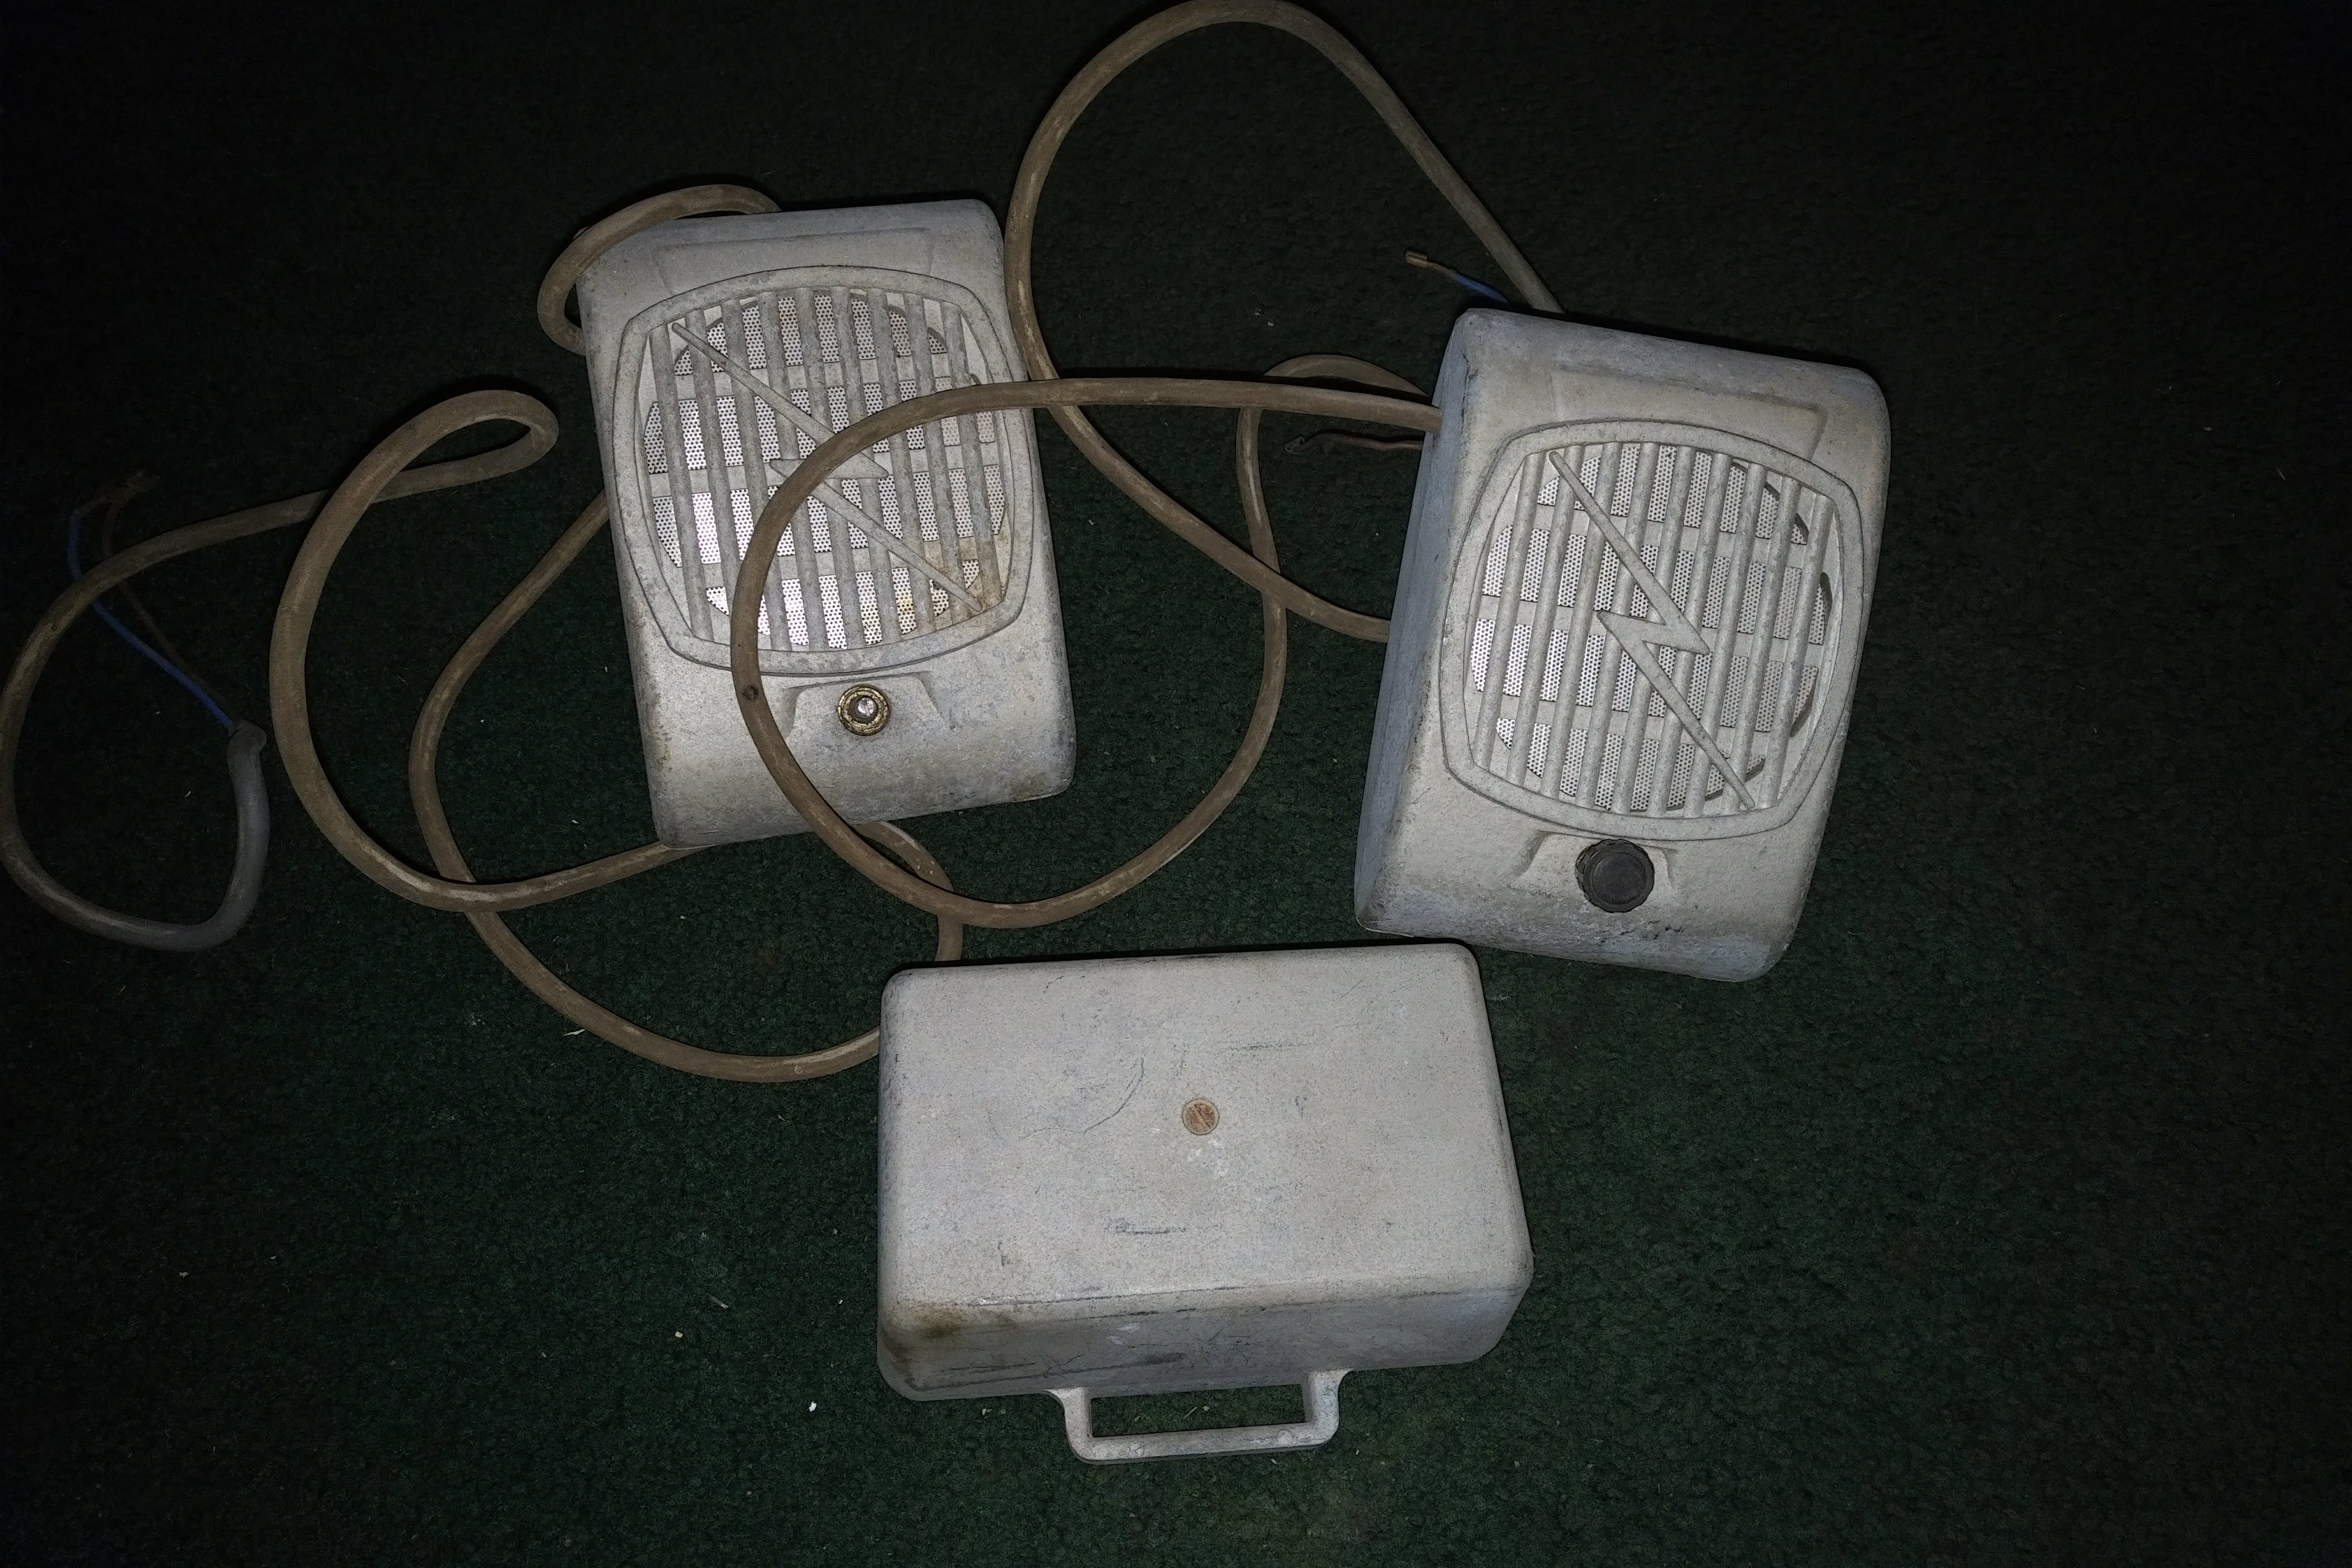
Someone in Australia had a matched set of Thompson speakers, along with its matching junction box. Thompson manufactured speakers for Oz drive-ins throughout the 1980’s, and the units are easily recognized by their “lightning bolt” front face.
The first drive-in Down Under appeared in the mid-1950’s, and there are still several drive-ins operating in Australia today. I should note that the Oz drive-ins, like those in America, have evolved from providing the movie soundtracks via big speaker boxes to transmitting through micro-targeted FM radio signals, as we do in America. Some Australian drive-in speakers came with additional toggle switches, which when activated would alert a carhop to visit your vehicle and take your food order. Many speakers also had their interior electronics wrapped in plastic bags, to prevent from bad weather and from hungry ants.
The previous owner of the speakers wanted to upgrade them, but never got around to it. I ordered the speakers at the end of September. The seller shipped them through Australian post, so these two speakers traveled from New South Wales to New York in record time.
The seller gave me a touch of background information on the speakers. These treasures came from what was originally from a theater near Gosford (about an hour’s drive from Sydney) and was known as the Erina Drive-In, holding its first showings in 1958. In addition to movies, it also had a playground and offered pony rides for the kids. The theater went through several ownership and name changes, and by 1985, its last season, it was known as the Greater Union Drive-In. By 1986, the drive-in was closed, and six years later, the theater grounds became the Erina Fair shopping center.
And I have two original speakers from that place. These are Thompson “Lightning” speakers, and were often found at various drive-ins Down Under.
I examined the speakers. Both were in very good shape for their age, which I estimate were from prior to 1985. The cords were also in good shape as well; one of the plastic volume knob covers was missing, but that’s no big deal. And the units were held together by Phillips-head screws. Fantastic. No need to bust out the Holt screwdriver for this one.
Okay. The plan is to disassemble the units, clean them out, repaint them, replace any problematic electronics, wire the unit up to a Bluetooth amplifier, and connect the Bluetooth amplifier to my computer.
Should be simple.
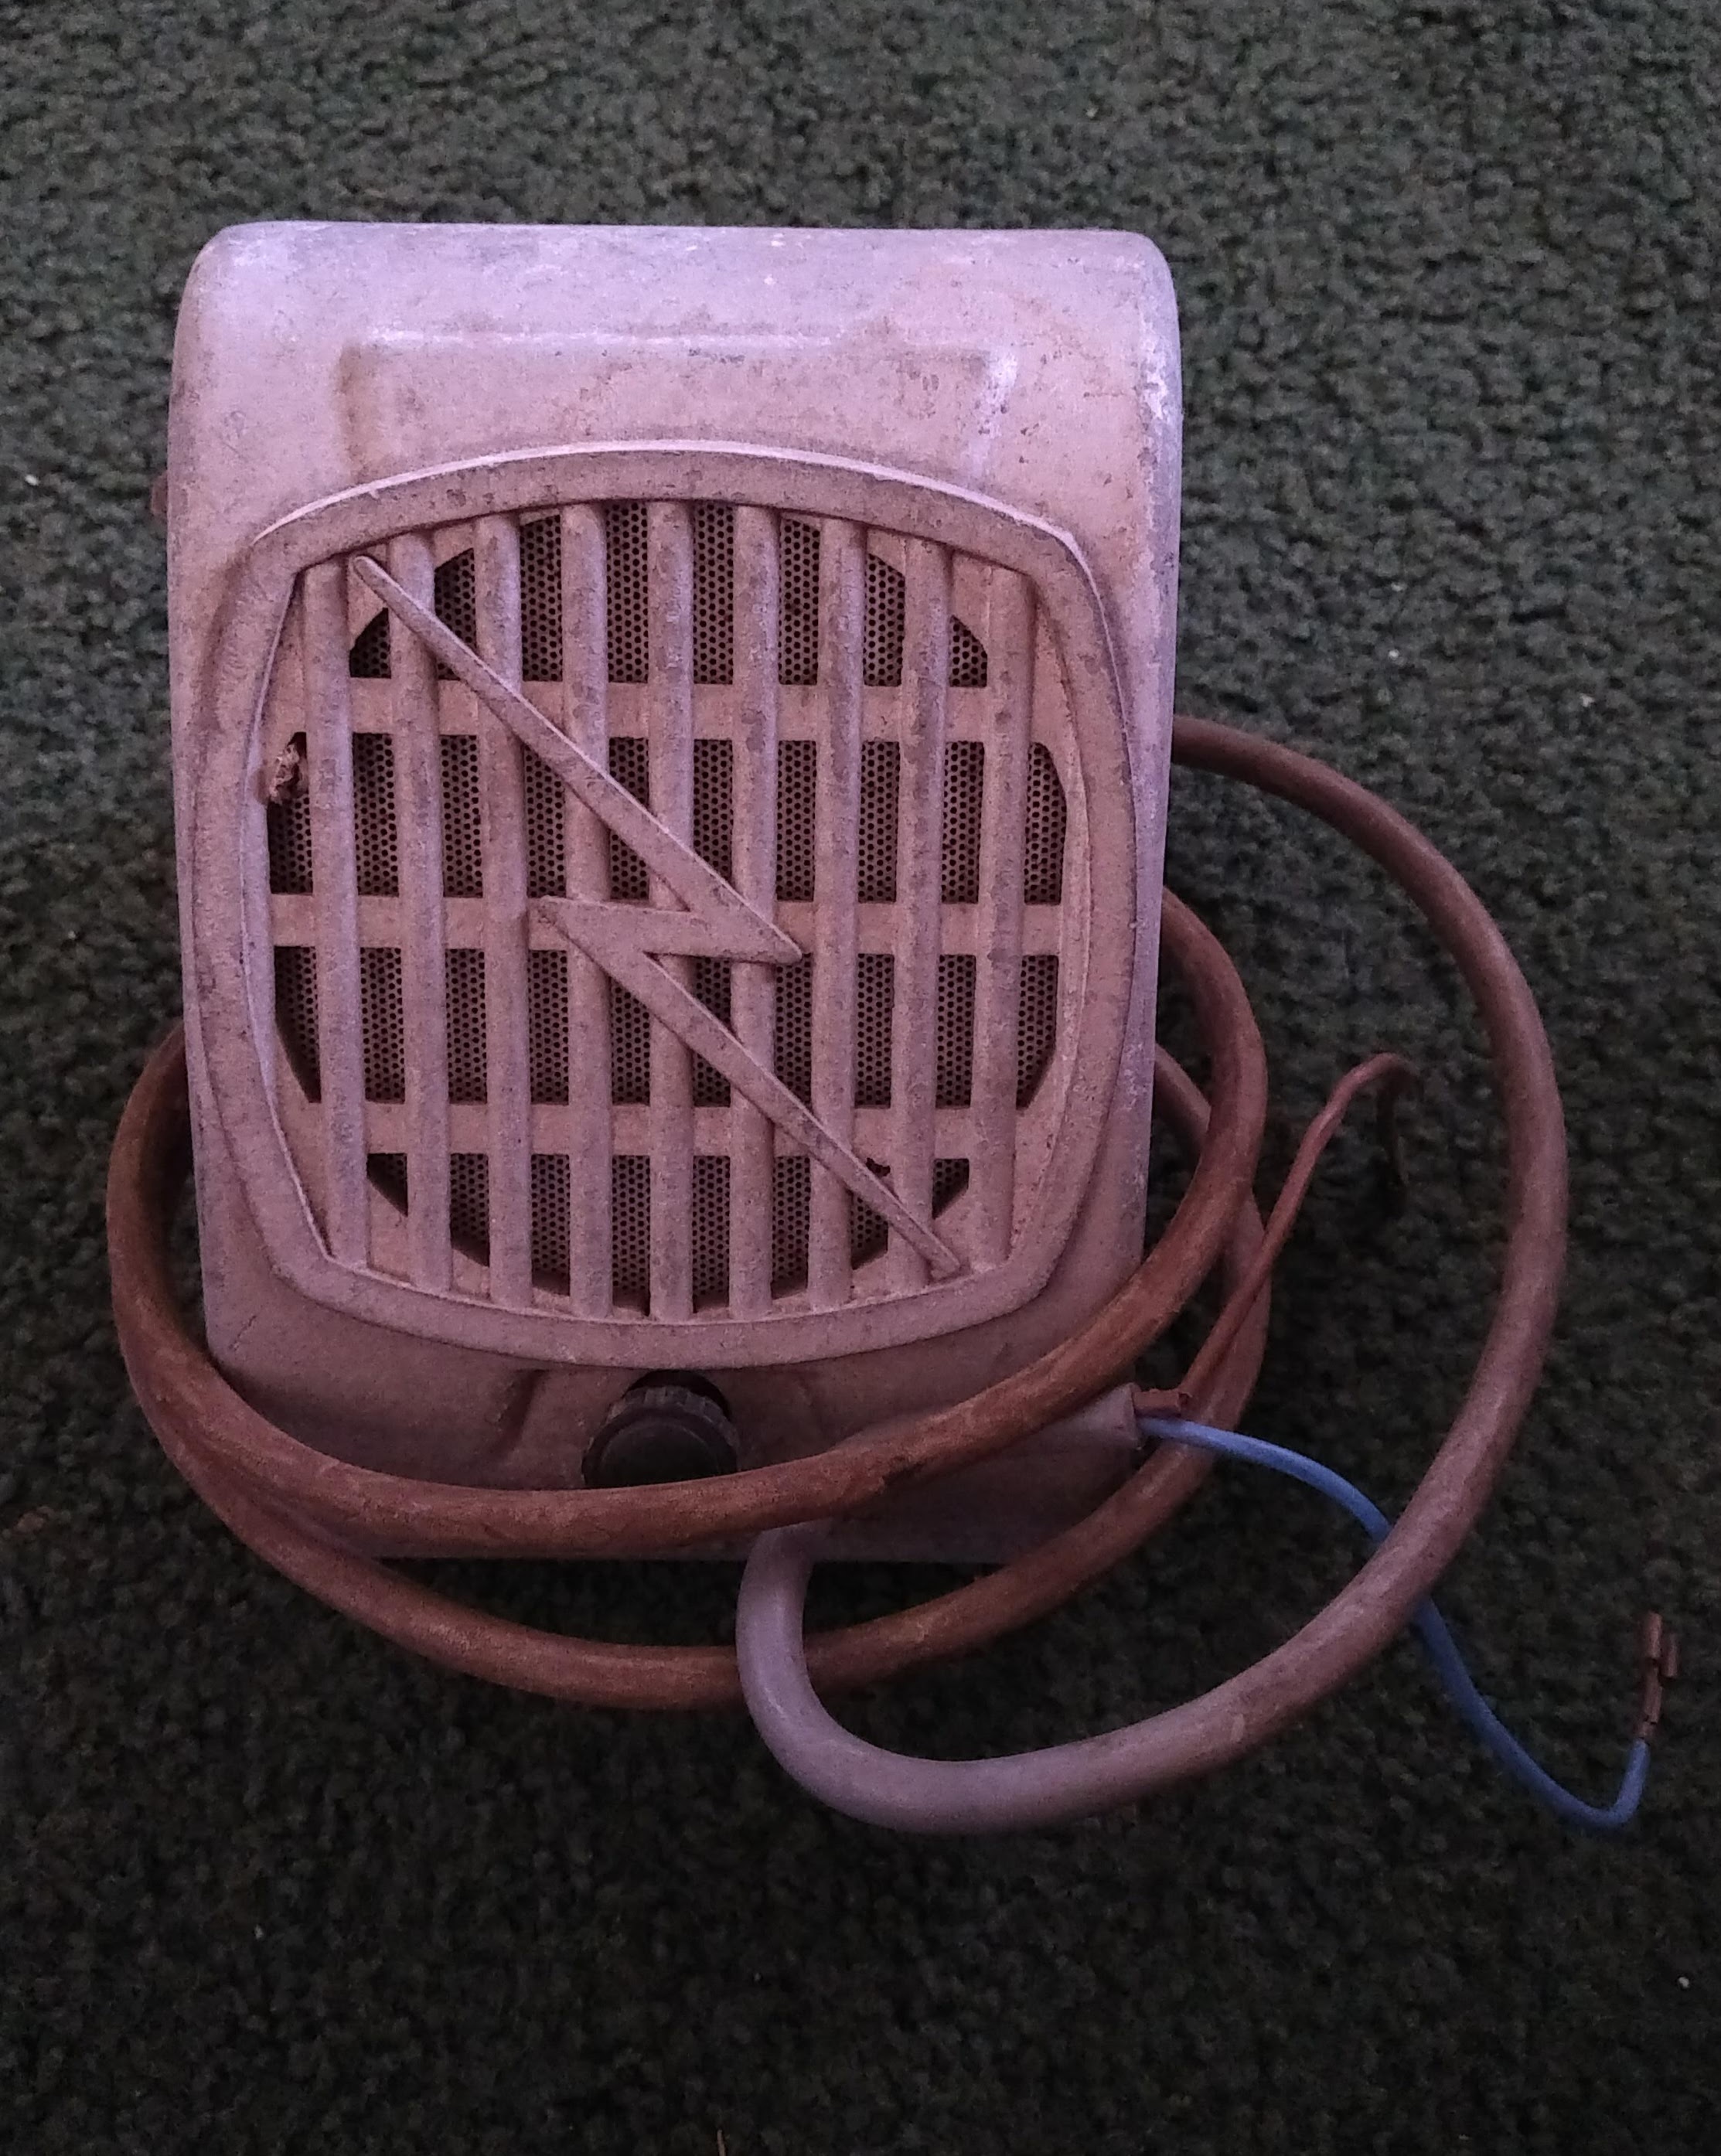
I opened the first one, just for an examination. Even though the speaker and potentiometer look halfway decent, I’m going to replace them, along with the speaker wire. Looks like I can make this work.
The second speaker was in decent shape as well, although it also contained a cardboard spacer (apparently the internal spring was compressed), and there were remnants of an old cobweb inside. Man, I hope that the spider who made that web moved out, I don’t want to be responsible for bringing a poisonous arachnid into the United States by accident…
Quick order to Detroit Diesel, one of my two dealers for drive-in reproduction parts. Two new potentiometers, two new speakers, two new chrome-plated volume knobs, two new curly cables.
I looked at the speaker chassis. Each speaker stayed together with four screws – two for the chassis, and two additional screws for the back of the speaker hook. Some of the screws had old rubber bushings; those bushings crumbled as I removed the screws. The screws were in decent shape, so dropped them in a cup of Coca-Cola to hopefully dissolve any rust and grime on them. I also found some rubber bushings at the hardware store to replace the original, rotted rubber.
Now for the color. Oh, wait, these are Aussie speakers. Now for the colour.
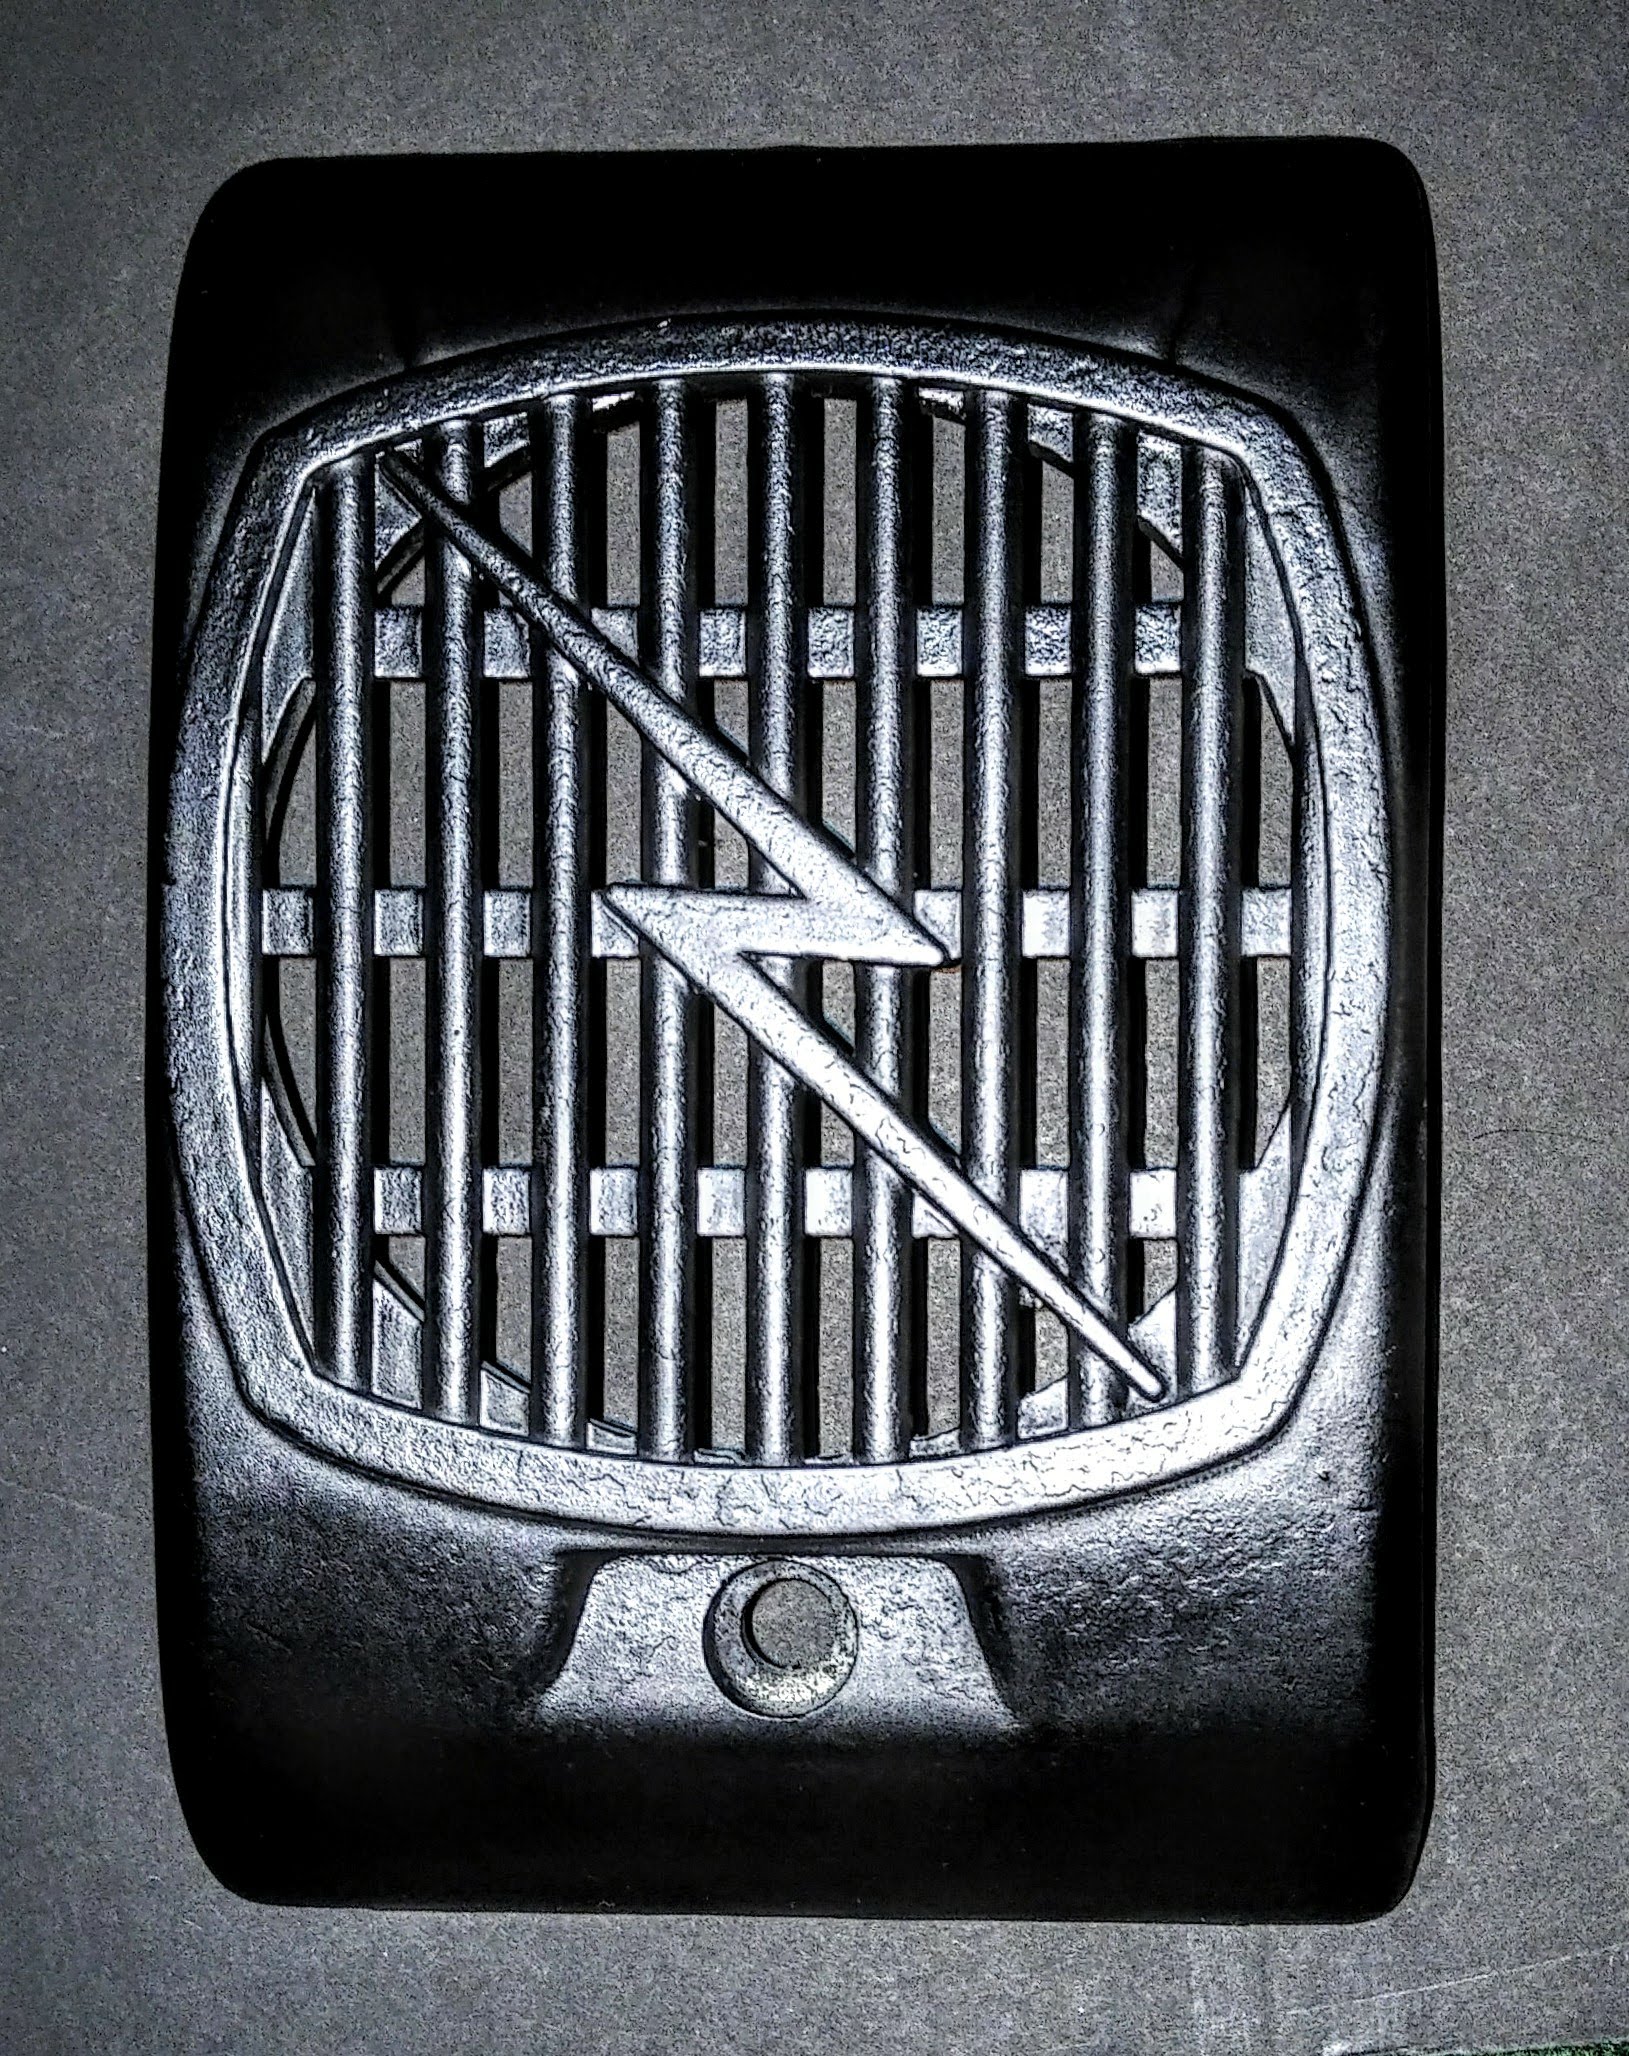
I sanded six total pieces – the two speaker fronts, the two speaker backs, and the two parts of the junction box. Just enough hand sanding to wipe off any dirt and grime and to rough up the surface for priming. Both units received a coating of self-etching primer, then both received a layer of flat black matte paint.
Holy cow, look at this.
Okay, I’m done.
Hell, no, I’m not done.
Using masking tape and painter’s tape, I masked off the front grill faces. Then, I used a razor blade to delicately trim through the lightning bolt and the outer border. These will be painted, while the remainder of the unit will remain black.
Got my mitts on some color-changing paint; this is the stuff where if you look at it from one angle, the image looks green; if you look at it from another angle, it turns blue. Spritz spritz spritz. Let dry.
And…
Oh wait. Forgot. I have to take off the masking tape. Well, I’ll do that after the paint cures. 😀
Okay, paint’s cured. I also added a layer of clear coat.
Take a look at this.
Sweet. With cold weather coming, and since I do all my spray-painting outdoors, I’m not going to have time to paint the second one, so I’ll do that later in the spring.
Oh, and if you think the front of this speaker looks swank, check out the back.
The left speaker is the dull matte finish, the one on the right has the clear coat. Yeah, I’m liking this clear coat deal.
Okay, now for the new potentiometer. Also known as the volume control. I was able to thread it into the tiny bottom hole of the speaker chassis, but then I couldn’t get the hex nut to tighten. The only way I could make it work was to put the potentiometer in first, then thread the hex nut just until it caught the grooves, then rotate the potentiometer to draw the hex nut inside. Yeah, now I’ll get three friends to turn my ladder when I’m installing a light bulb.
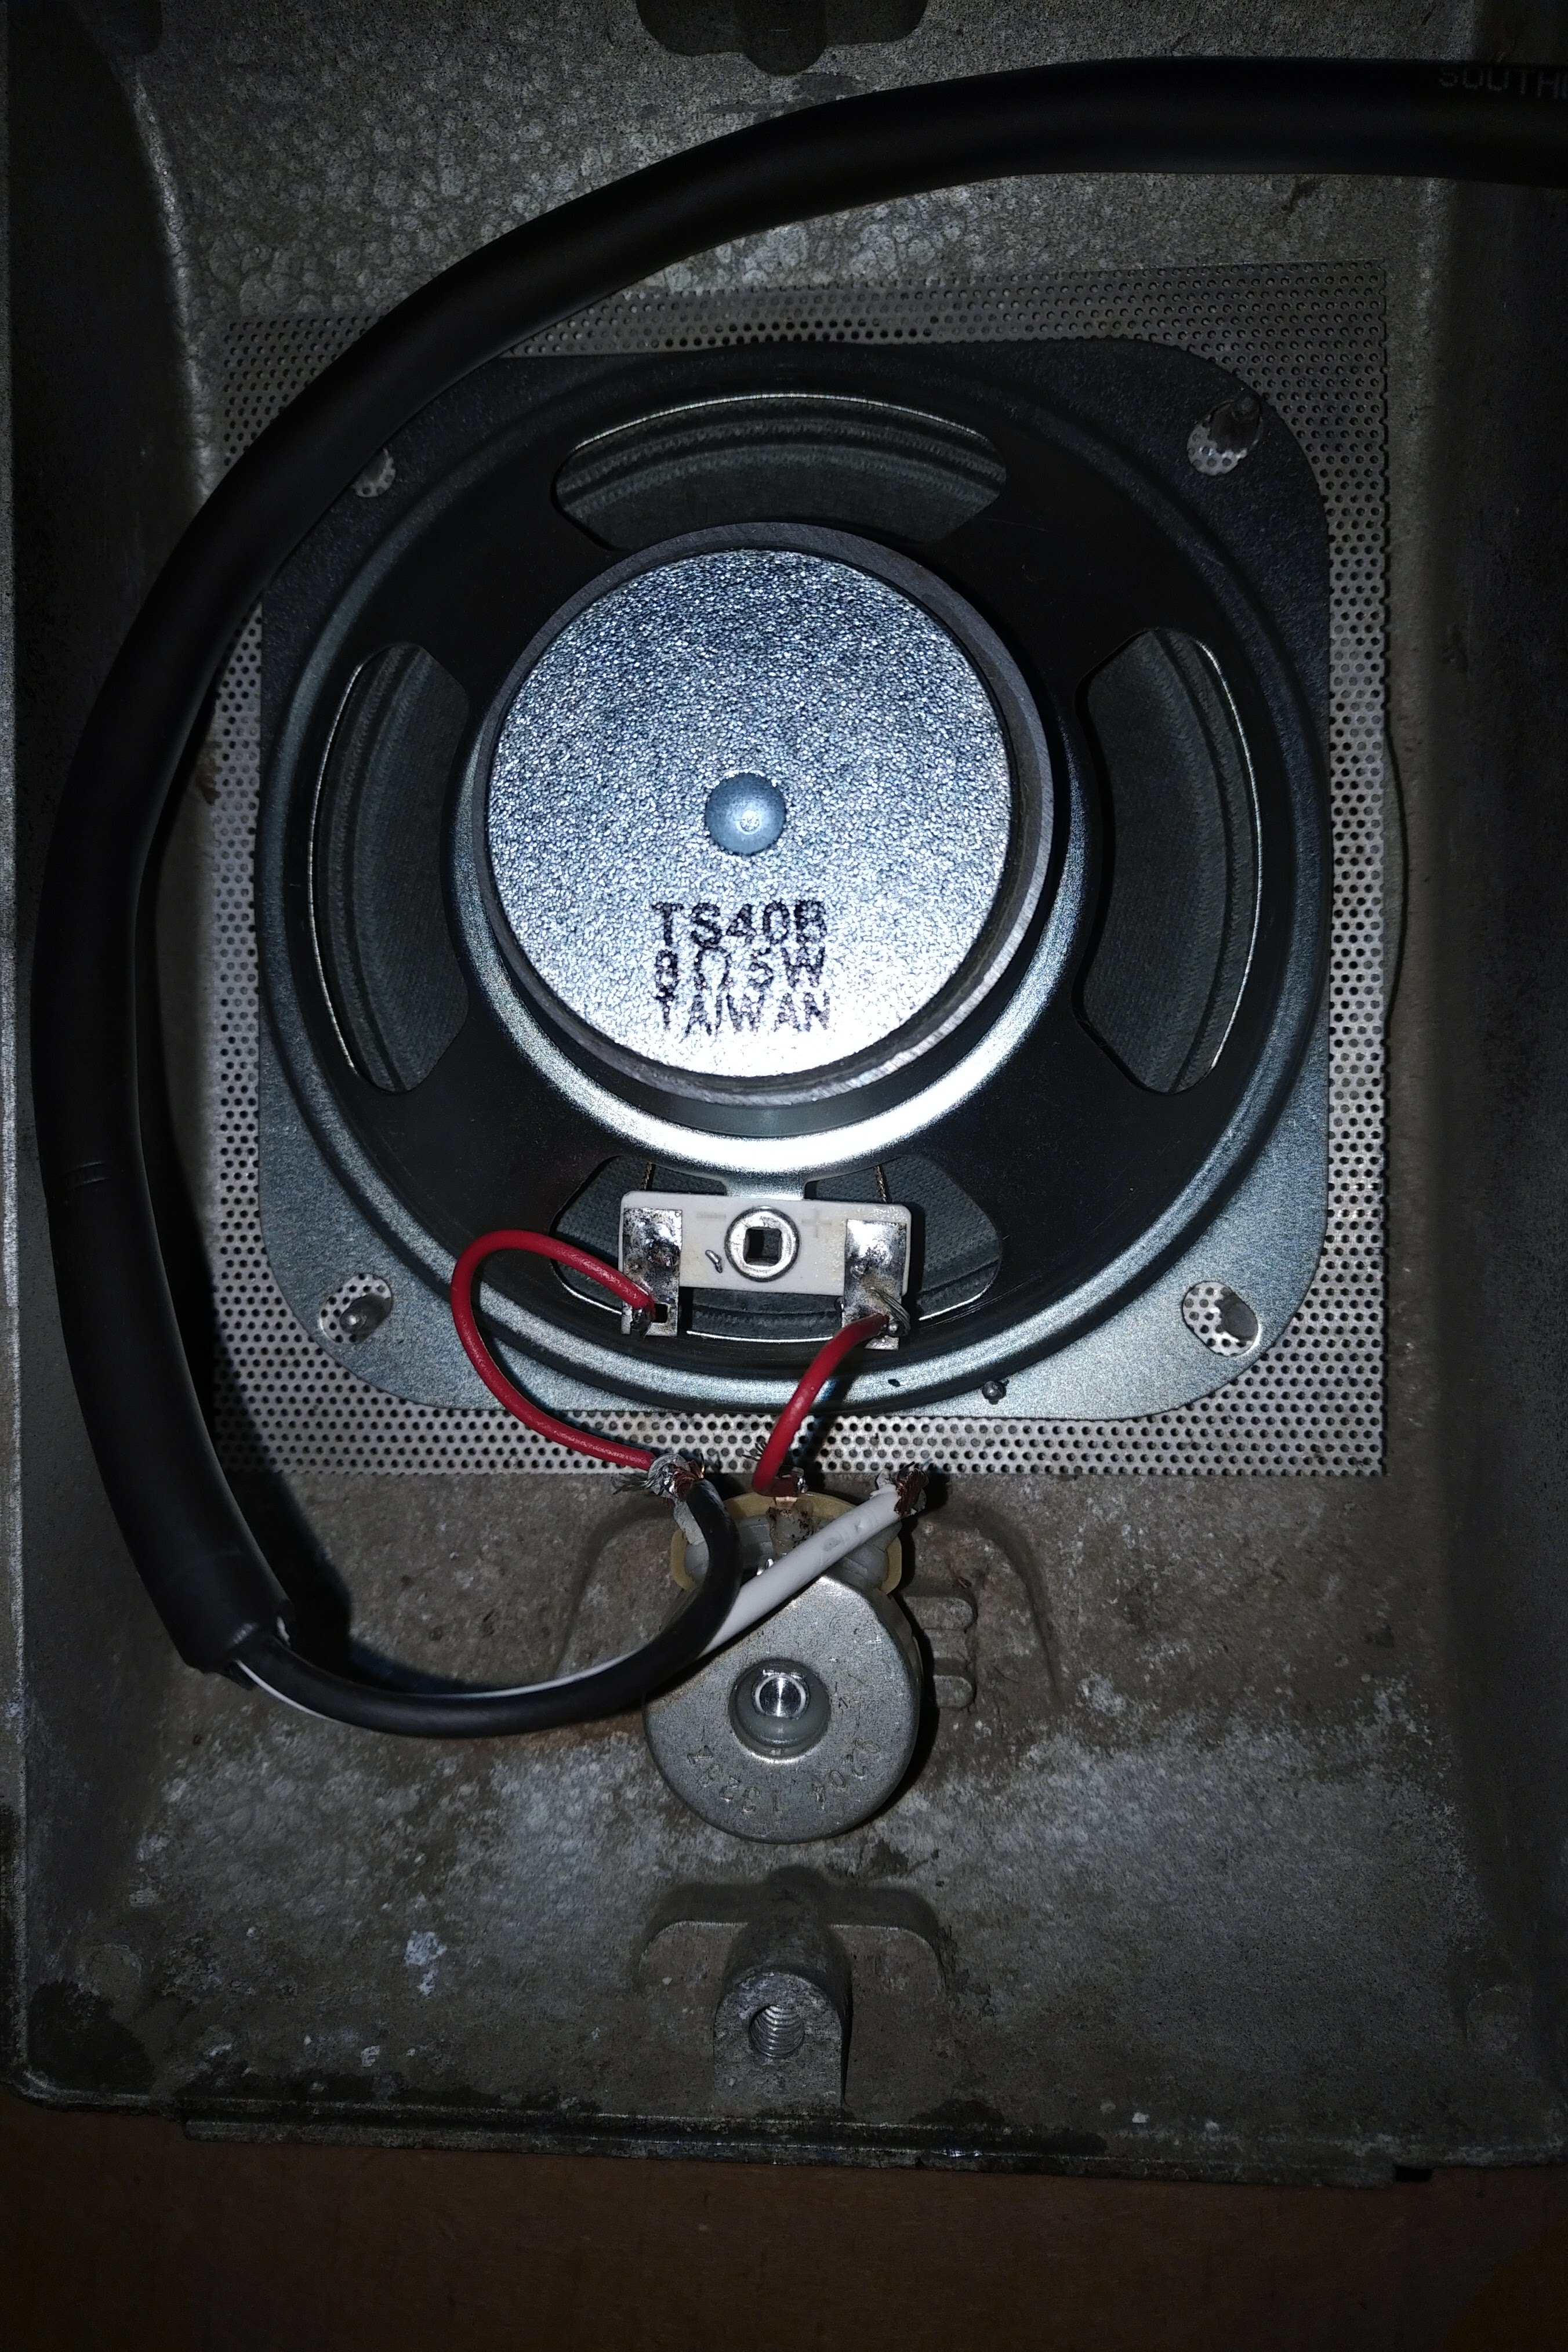
Wiring time. Wire (A) between speaker post and potentiometer slot 1. Wire (B) between speaker post and potentiometer slot 2. Then for the curly cords, one curly cord into potentiometer slot 1, the other into potentiometer slot 3.
Soldering time. Gotta make sure these connections are tight.
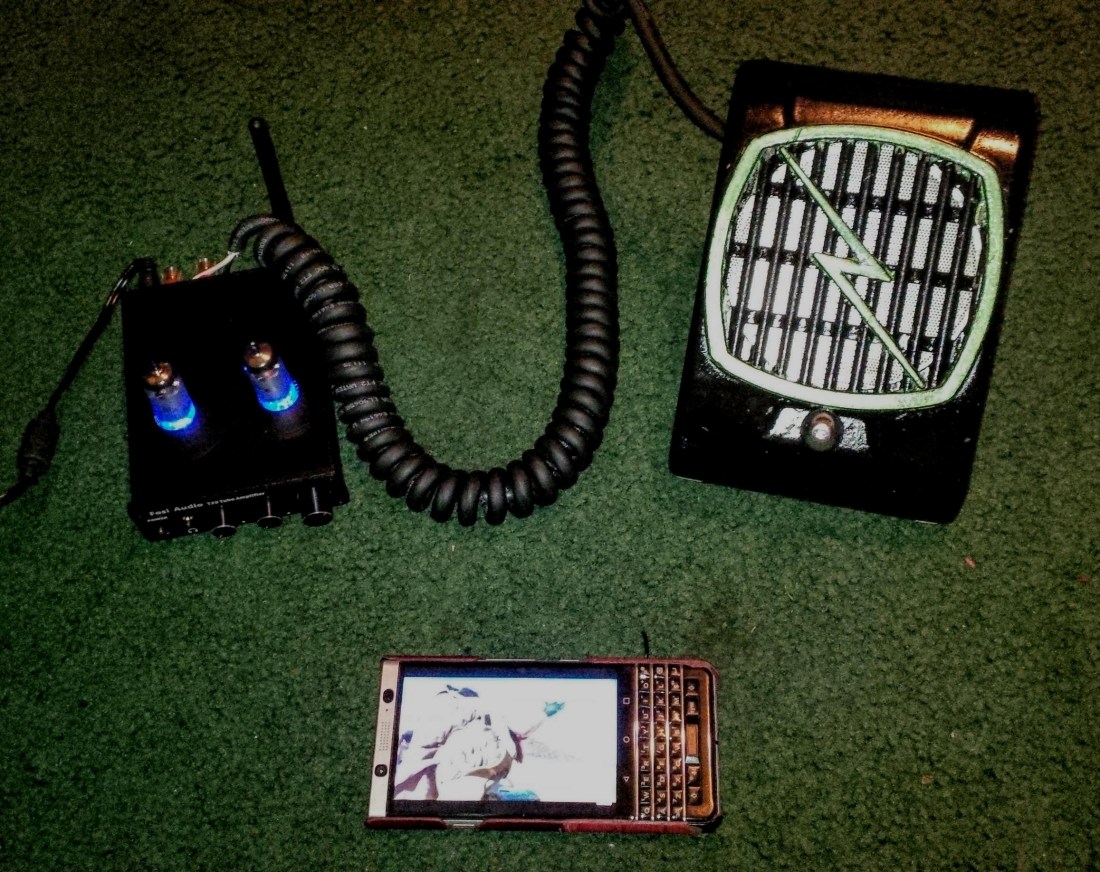
I then connected the other ends of the curly cords to a newly-purchased Bluetooth amplifier. And this one is swank. The amplifier has little vacuum tubes on it. Just like an old tabletop radio.
And since this is a speaker from the Outback … how about testing it with one of the greatest films of Australian cinema?
You guys … this freakin’ works. Swank.
Now as I said, this is actually going to be set up as one of my computer speakers. I’ll paint up the second speaker if there’s some good weather outside, but for now I’ve got this one working.
Once the second one is complete, I’ll assemble that – along with the junction box – and I’ll order a drive-in speaker stand where everything can be mounted.
Heck, all I need after that is a ’76 Pontiac Trans-Am with a T-bar roof and a CB radio.
Oh wait, this is an Australian speaker. I need a Ford Falcon, jet black, one of the last V8 interceptors.

nifty!
LikeLike
I would have a set of those in the garage, for socially distanced movie night. Brilliant work Chuck!
LikeLike
You may want to consider bidding on this one.
LikeLike