I’ve been having a lot of fun with this drive-in speaker art kick of late. It was something that started during the pandemic, and I’ll probably make about four or five more of these before I work it completely out of my system. But in that … it’s still fun.
So let me introduce you to the next drive-in speaker that I’m going to upgrade and upcycle.

So what we have here is an EPRAD drive-in speaker. EPRAD was based in Toledo, Ohio, and they, like RCA and Projected Sound and so many other companies, manufactured distinctive drive-in theater speakers. This unit’s design shows EPRAD, in big capital letters, down the vertical front. The speaker also has the volume knob at the top of the unit, rather than at the bottom, where most drive-in speaker volume knobs are kept.
Okay, I’ve got this routine down pat. Take the guts out of the chassis, spray with a coat of self-etching primer, then go to town on painting it. Reinsert the guts, and we’re good to go.
I flip the speaker over to take out the screws, and…
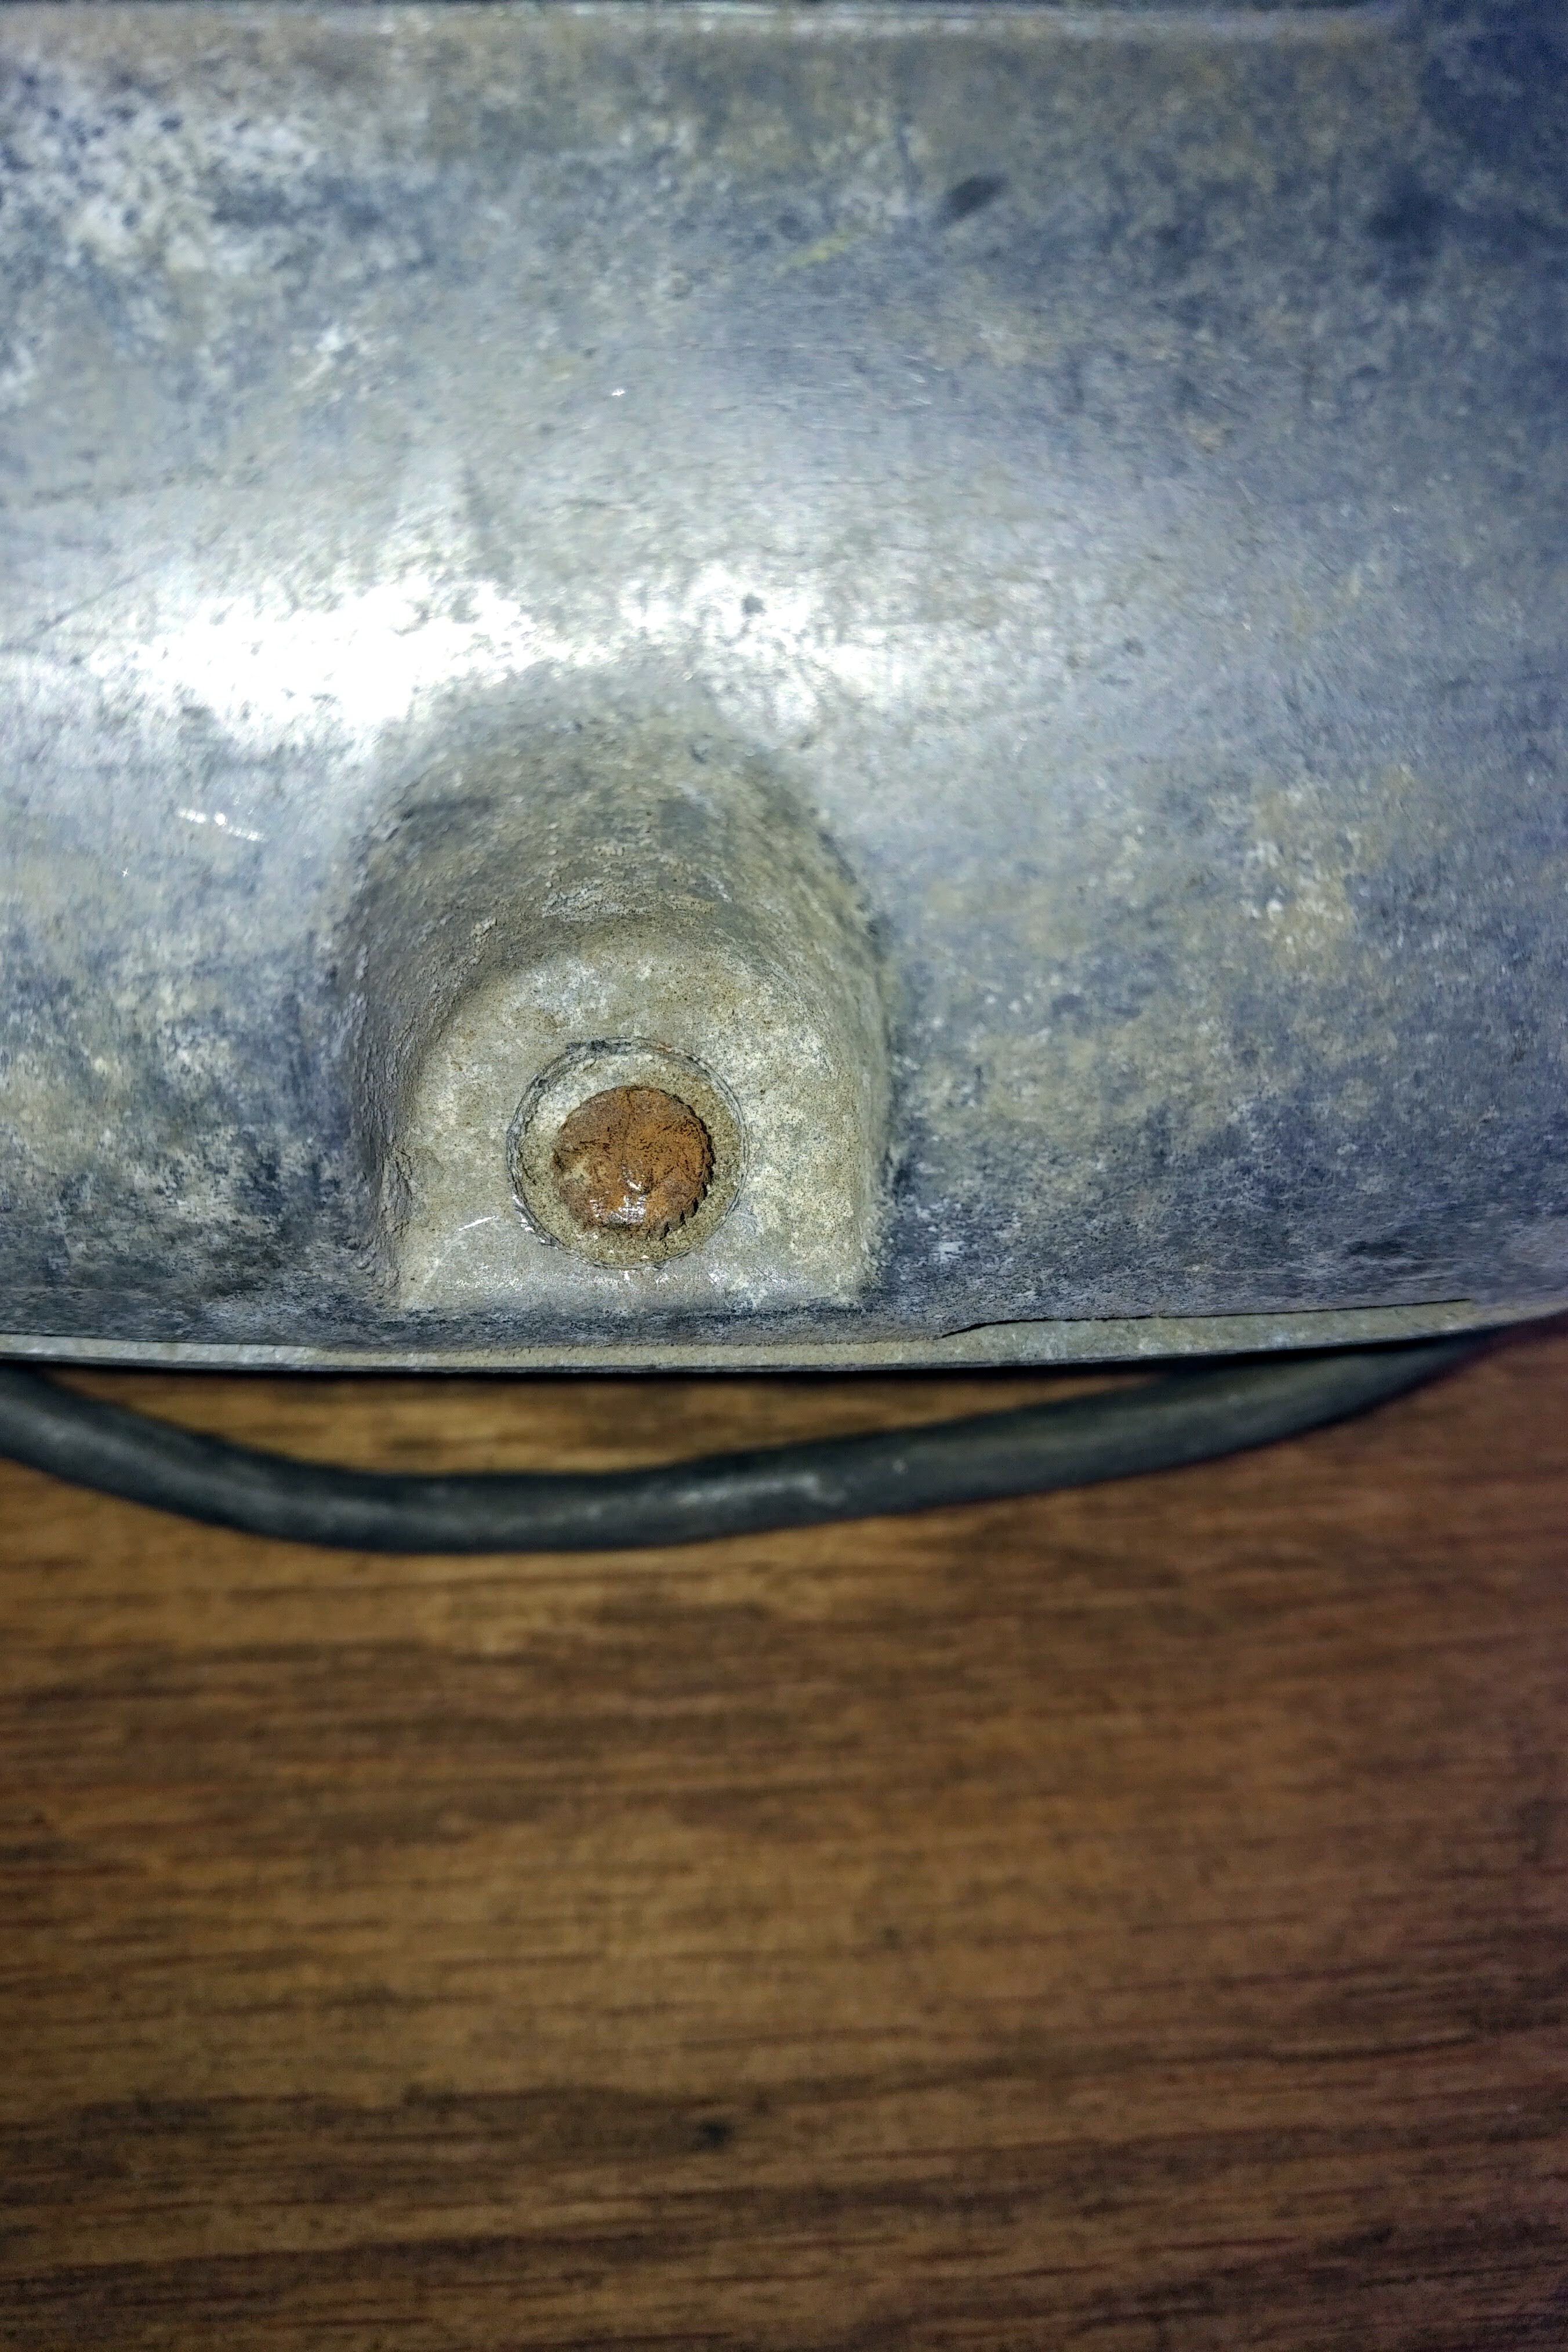
Oh, shit. That’s a Gulmite screw.
Not the kind of screw I wanted to see.
See, drive-in speakers can have a combination of fasteners. There’s the usual flathead and Phillips screwdrivers, and then there’s the Holt screw (which looks like a Phillips screw, except the center of the screw head is raised). I have screwdrivers for those three screws.
I do not have a screwdriver for a Gulmite screw.
The only other places where Gulmite screws were used were on old washing machines and old RV’s. There are tools out there to remove Gulmite screws, but I’m not paying $75 for a tool to remove two screws that I’ll never use again. No.
Instead, I took the speaker to an automotive machine shop in Schenectady. Two carbide drill pumps later, and those screws came off faster than Clark Kent’s eyeglasses.
Now I could open the unit up. Speakers and wiring look solid, I won’t need to replace those. I disconnected the potentiometer and wrapped everything up in a plastic bag so that no parts would disappear. I’ll need to order a replacement plastic volume knob, but I can do that later.
I dunked both halves of the speaker housing into a solution of hot water and orange cleaner. Got rid of the lion’s share of gunk and dirt and dried-up-old schmutz.

Okay, now off to the painting bench. I propped both speaker halves onto a set of wooden planks. This way, I could spray all around the units with the self-etching primer. Again, please note. The only way to paint aluminum is with a self-etching primer base, or else the paint will simply flake off. Don’t want that to happen.
For this unit, I wanted to try a different painting technique – instead of going with spray paint and rattle cans, I thought it was time to try acrylic paints and powders.
I ordered some powders online. Something that looked like “the pinkest pink” and “the blackest black” and whatnot.
The seller responded back. “Are you Anish Kapoor?”
Who?
“I will sell the pigments to you only if you swear that you are not Anish Kapoor, and that you are not working with him or in any capacity involved with any of his projects.”
Brother, I wouldn’t know who Anish Kapoor was if you hit me in the head with a giant reflective bean-shaped sculpture.
Pigments and acrylics were on their way to me.
It was only later that I found out that Anish Kapoor is a very famous artist who currently holds the license to use a hue called Vantablack, which is supposedly the blackest black ever made. No one in the world can use it in an artistic medium except for Anish Kapoor.
Well, that’s kind of a dick attitude.
Meanwhile, the person I bought my acrylics and pigments from, Stuart Semple, has created alternatives to Vantablack and other deep colored media, and making these supplies available – with very little profit to him – to the general public. In other words, art as democracy versus art as autocracy.
Yeah, definitely good with that.
Okay. First off, I used a pigment called LIT – which apparently can absorb light and reflect it back at night. Sweet. I painted around the lettering in the vertical EPRAD signage, then let the compound dry in the sun.

About 30 minutes later, I brought the speaker front into the house. Let’s test the luminescence. Dark room. Pull out the camera. No flash. And.

Holy shit. It worked. Stuart Semple is the man.
So while that’s drying, I turned my attention to the back of the chassis. Since that really won’t have any design colors to speak of, I coated it with Semple’s Black 3.0 compound. This thing was so all-black, it could have operated a rugby team in New Zealand.
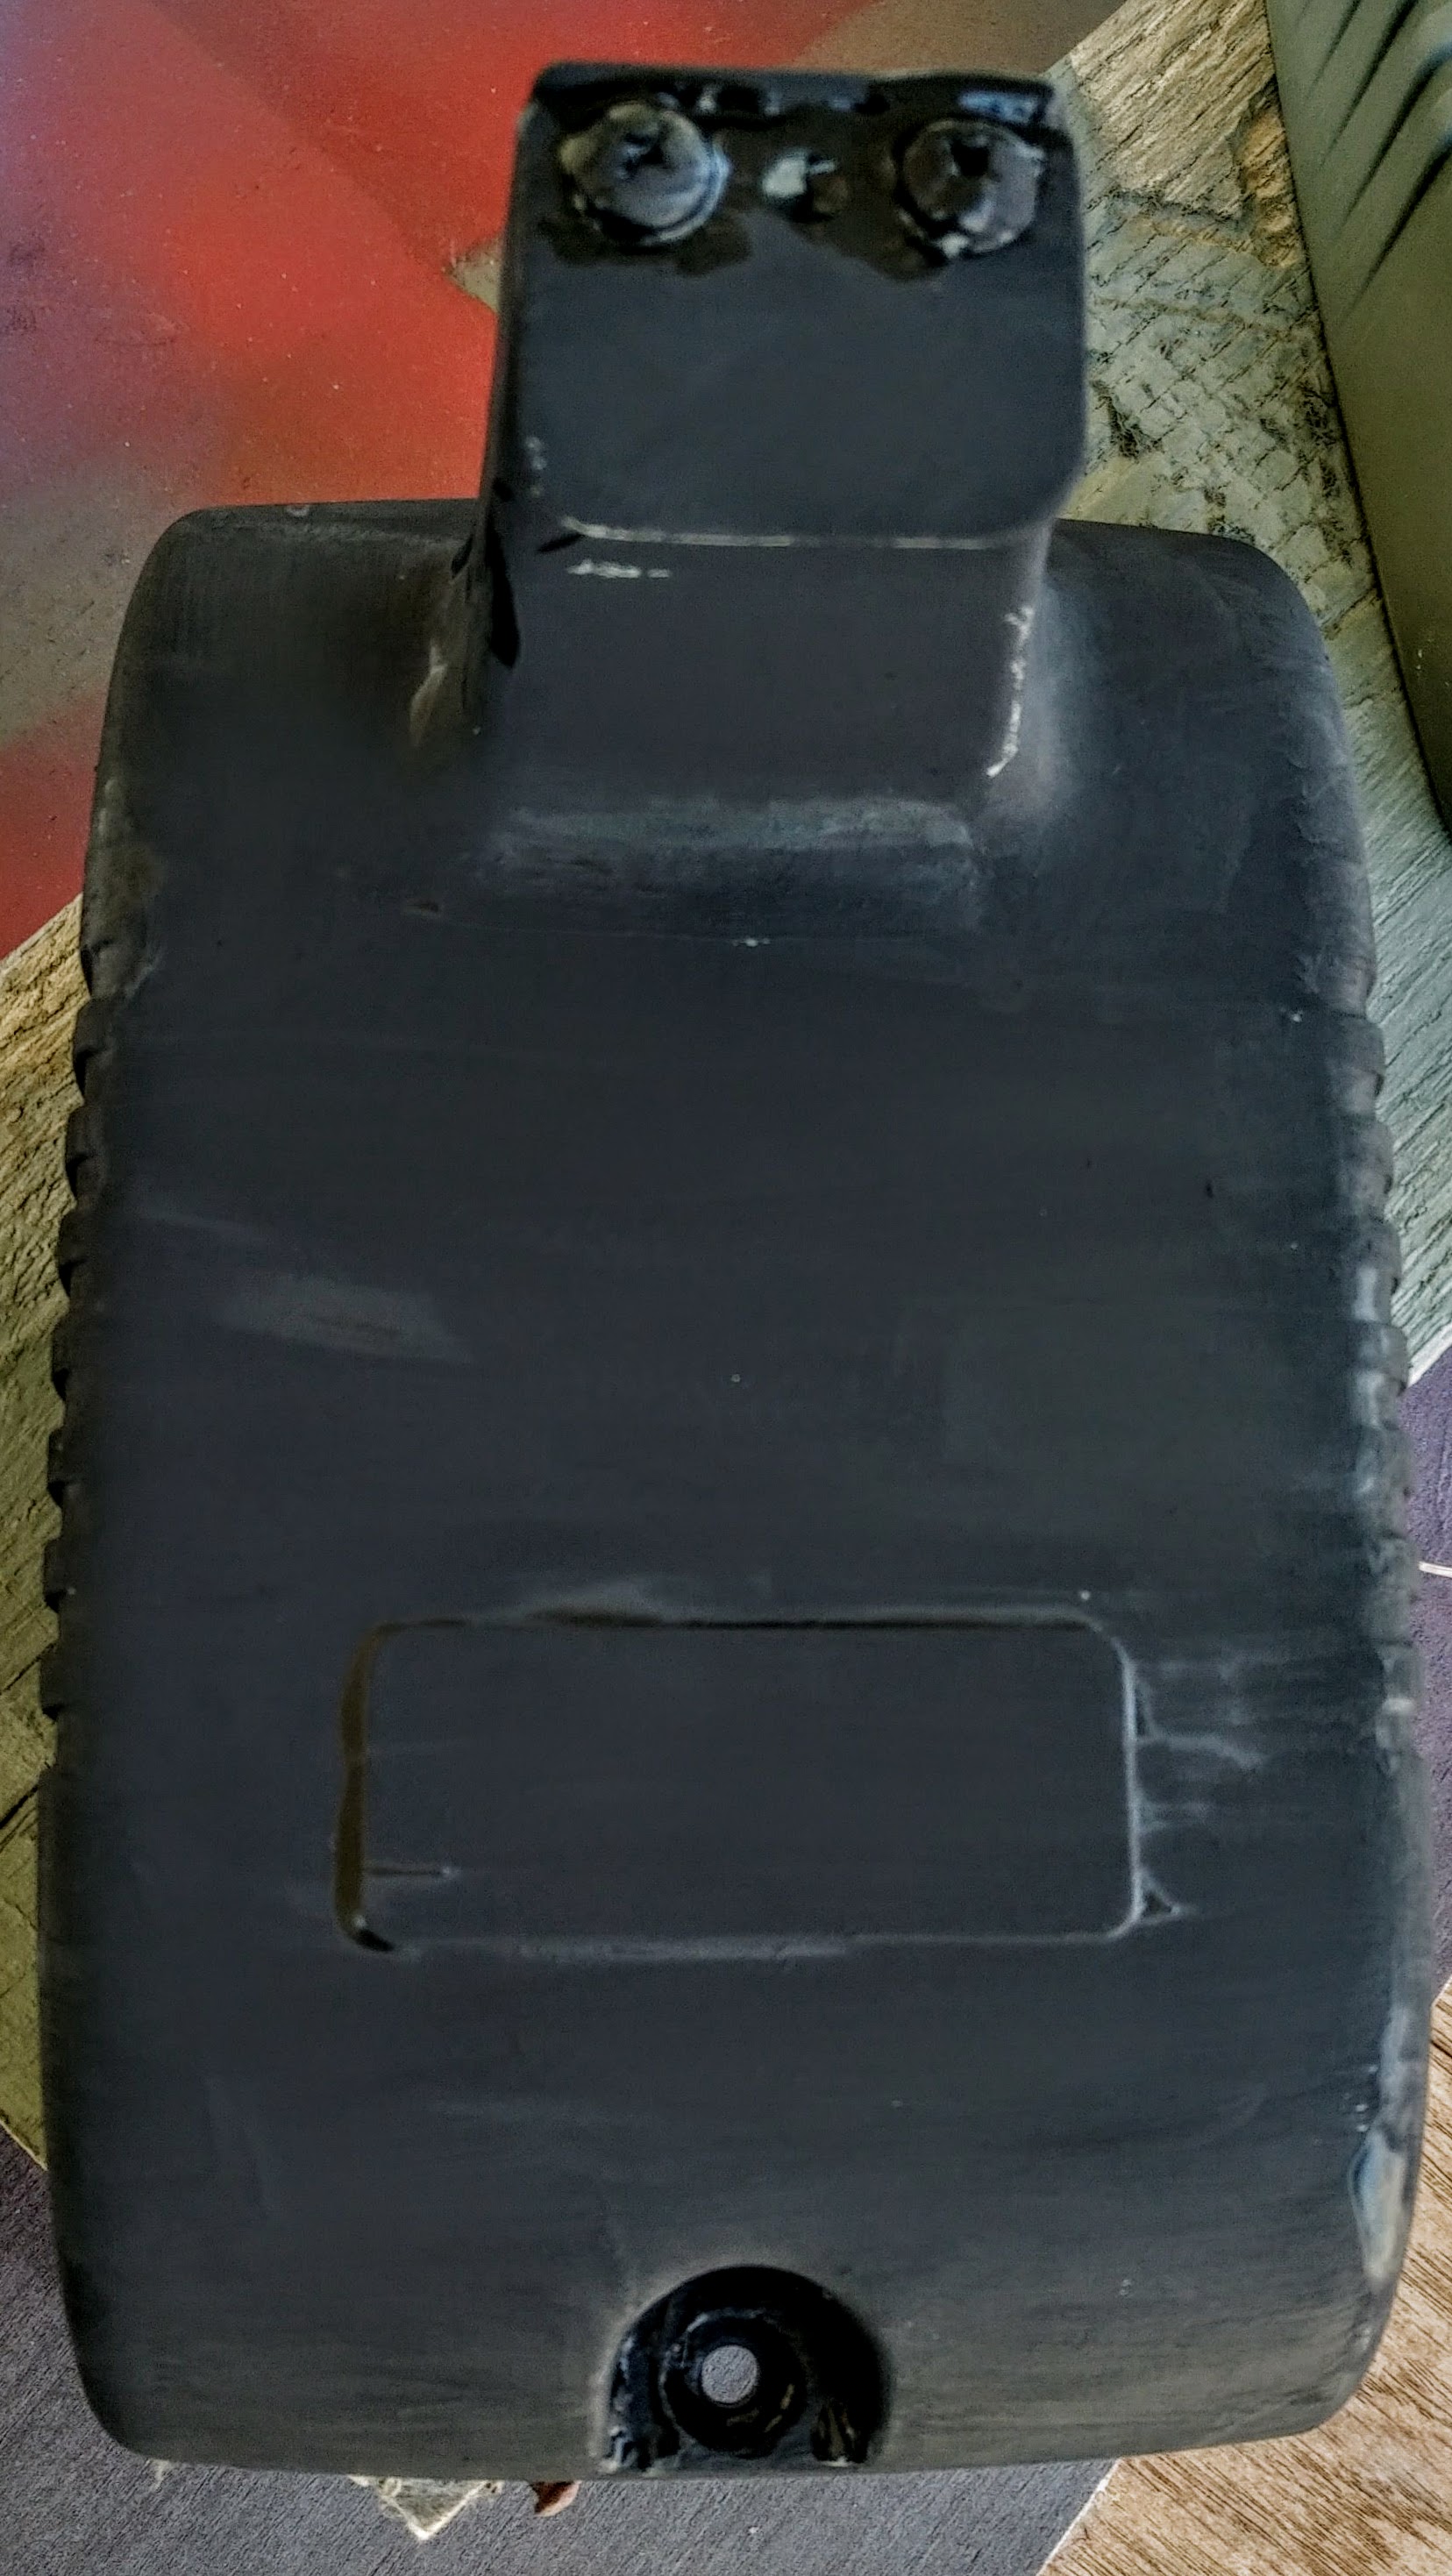
Any streaks you see in this image are of the wet paint that still hasn’t dried completely. But wow.
This is going to be fun.
The front of the speaker has nine sets of horizontal lines. I have four sets of pigment powders – pink, yellow, green and blue – along with some more of the LIT glow-in-the-dark pigment. So I’m thinking, a little mixture of colors here and there, and I can create a nice rainbow effect across the front of the speaker. Then I can paint the rest of the chassis in Black 2.0 and it will look awesome.
After I finished painting up the front, I reassembled the unit … and took a photo for posterity.
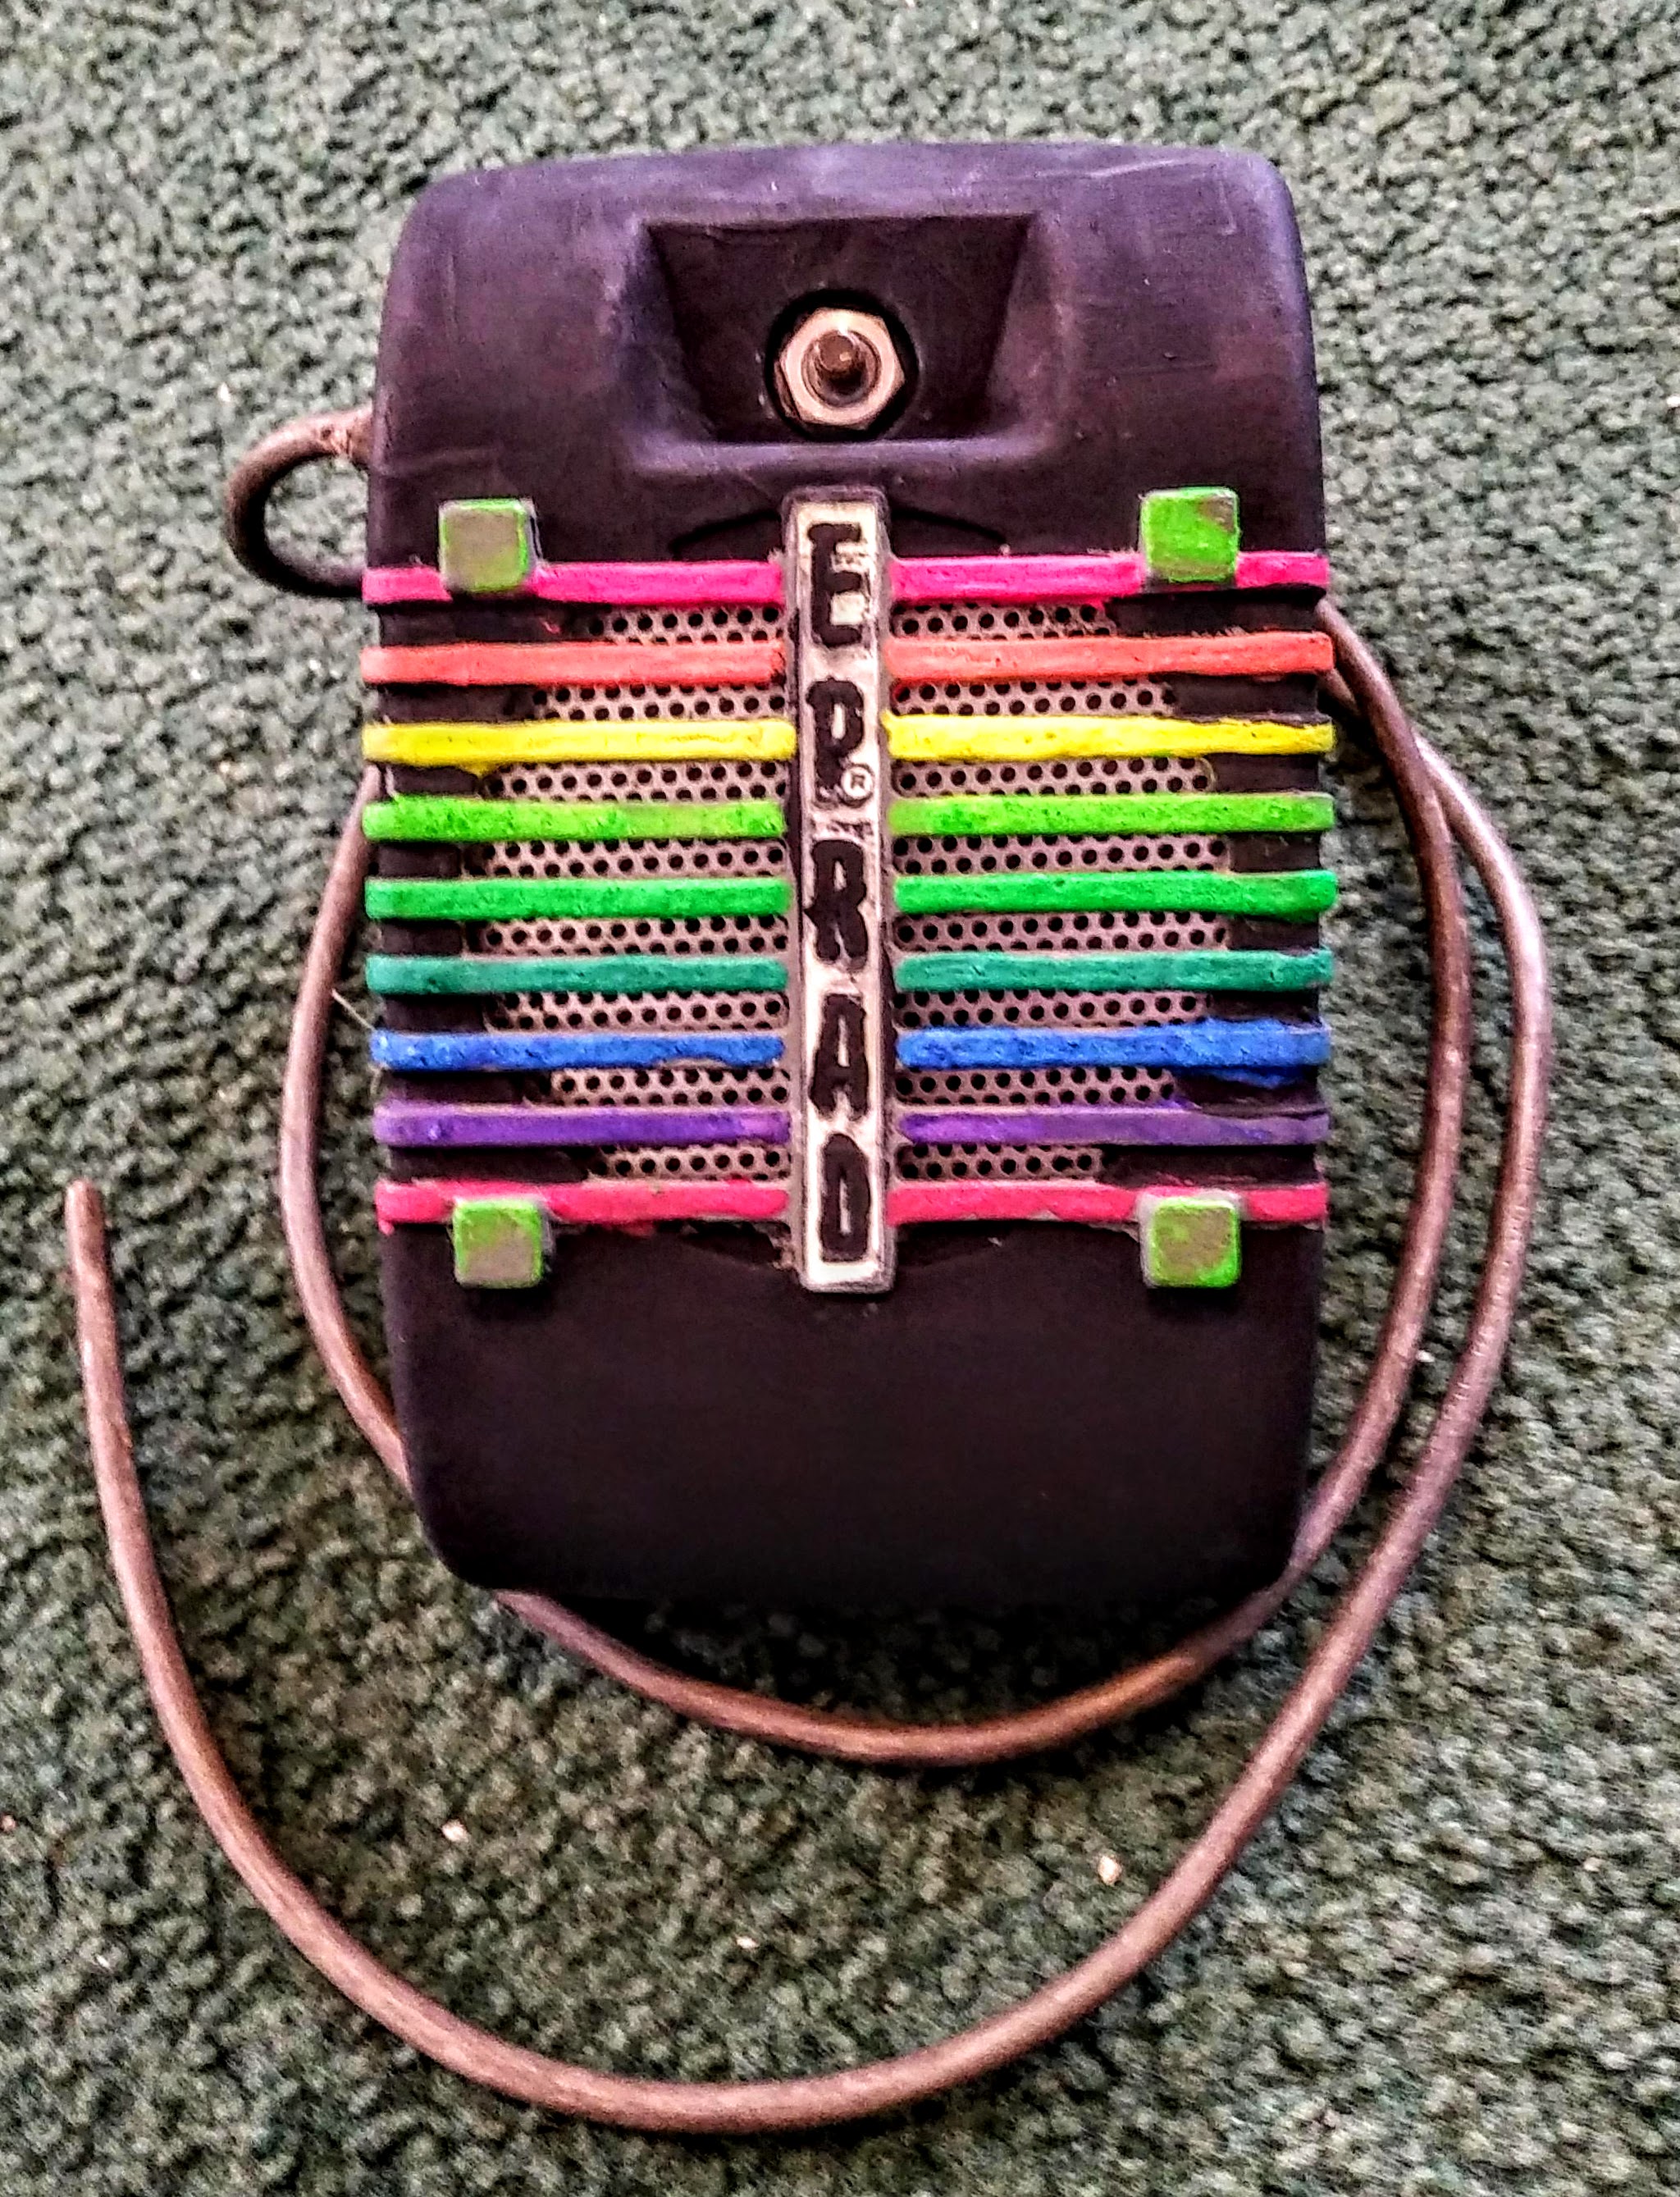
And there it is. My latest drive-in treasure. I’ll must need to order a chrome-plated knob for the volume control, and this thing will be super-awesome.
Yeah, as I said before, I’m having a lot of fun with this drive-in speaker art project. And much thanks to the team at Culture Hustle for turning me on to their paints and pigments.
Fun stuff all around.

Now if only you could put the guts from a Siri or Amazon Echo you could have a great retro combination of past and future.
LikeLike